Spiced Salt Dough Ornaments
This year, Christmas time has seemed to fly by. In 6 weeks, we’ve visited 8 charming Christmas markets, from tiny vineyard lined villages in France to castle walled cities in Germany. And yet, here we are… 3 days to Christmas and somehow it feels like the season has just barley begun.
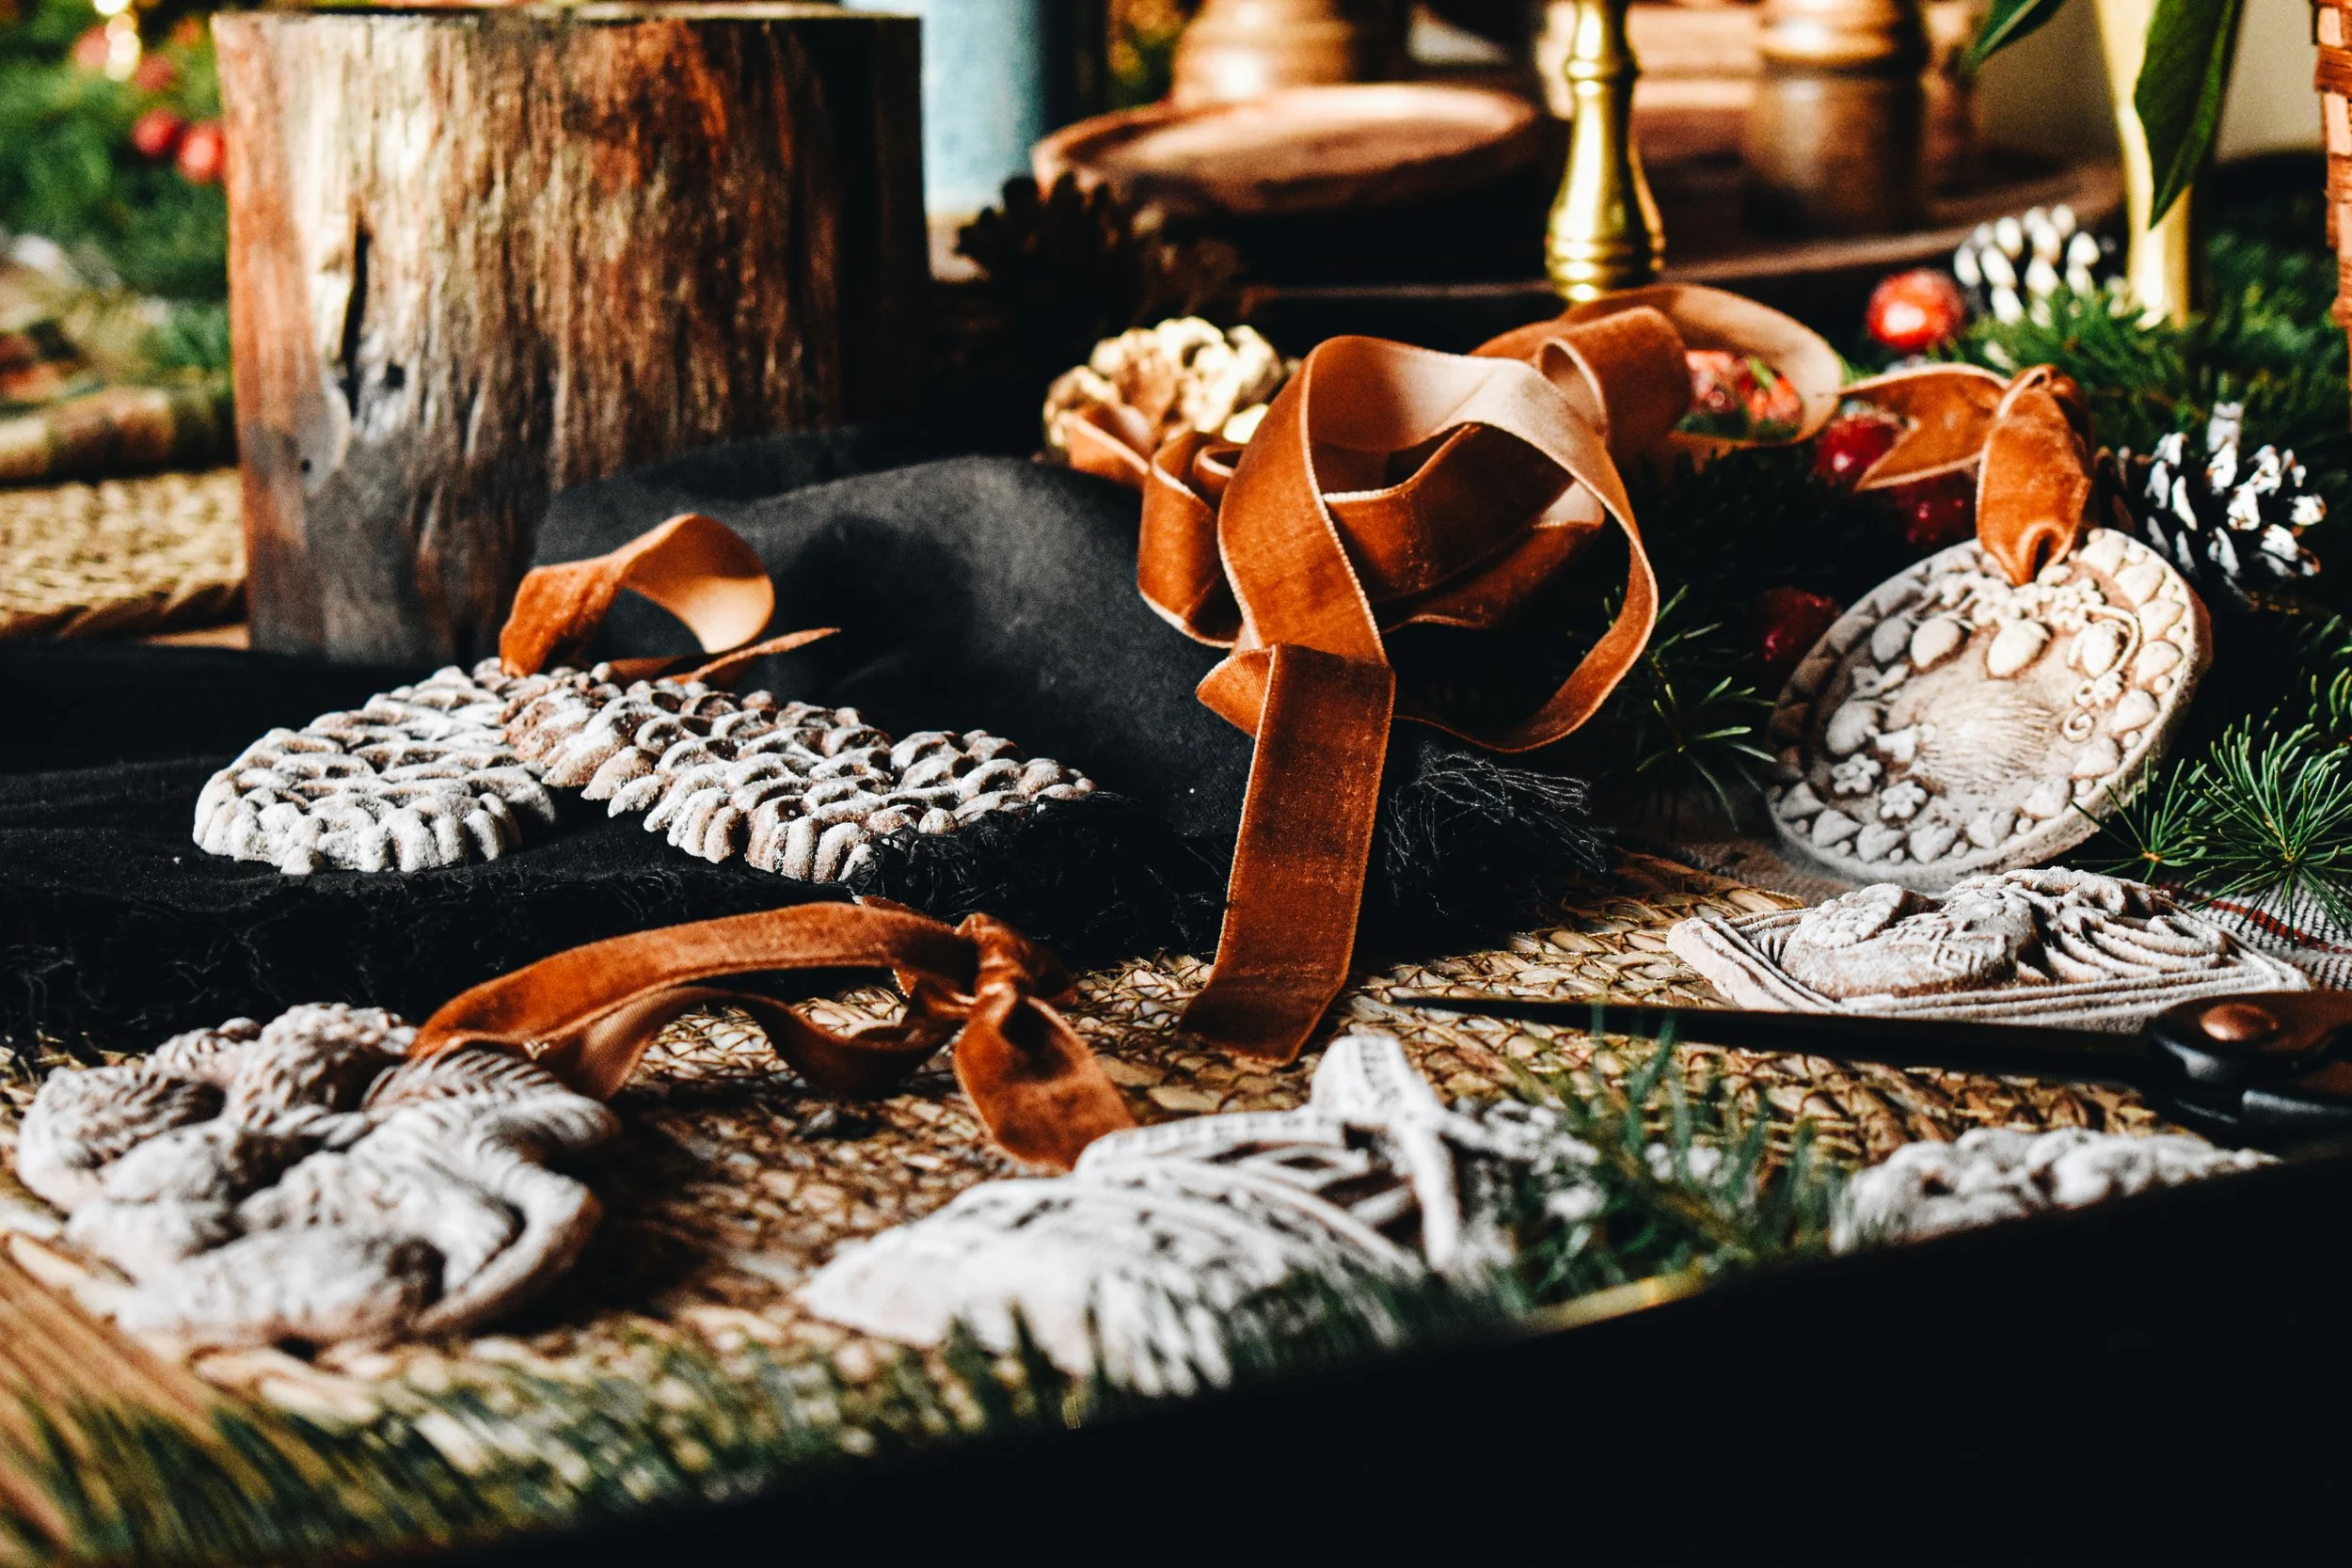
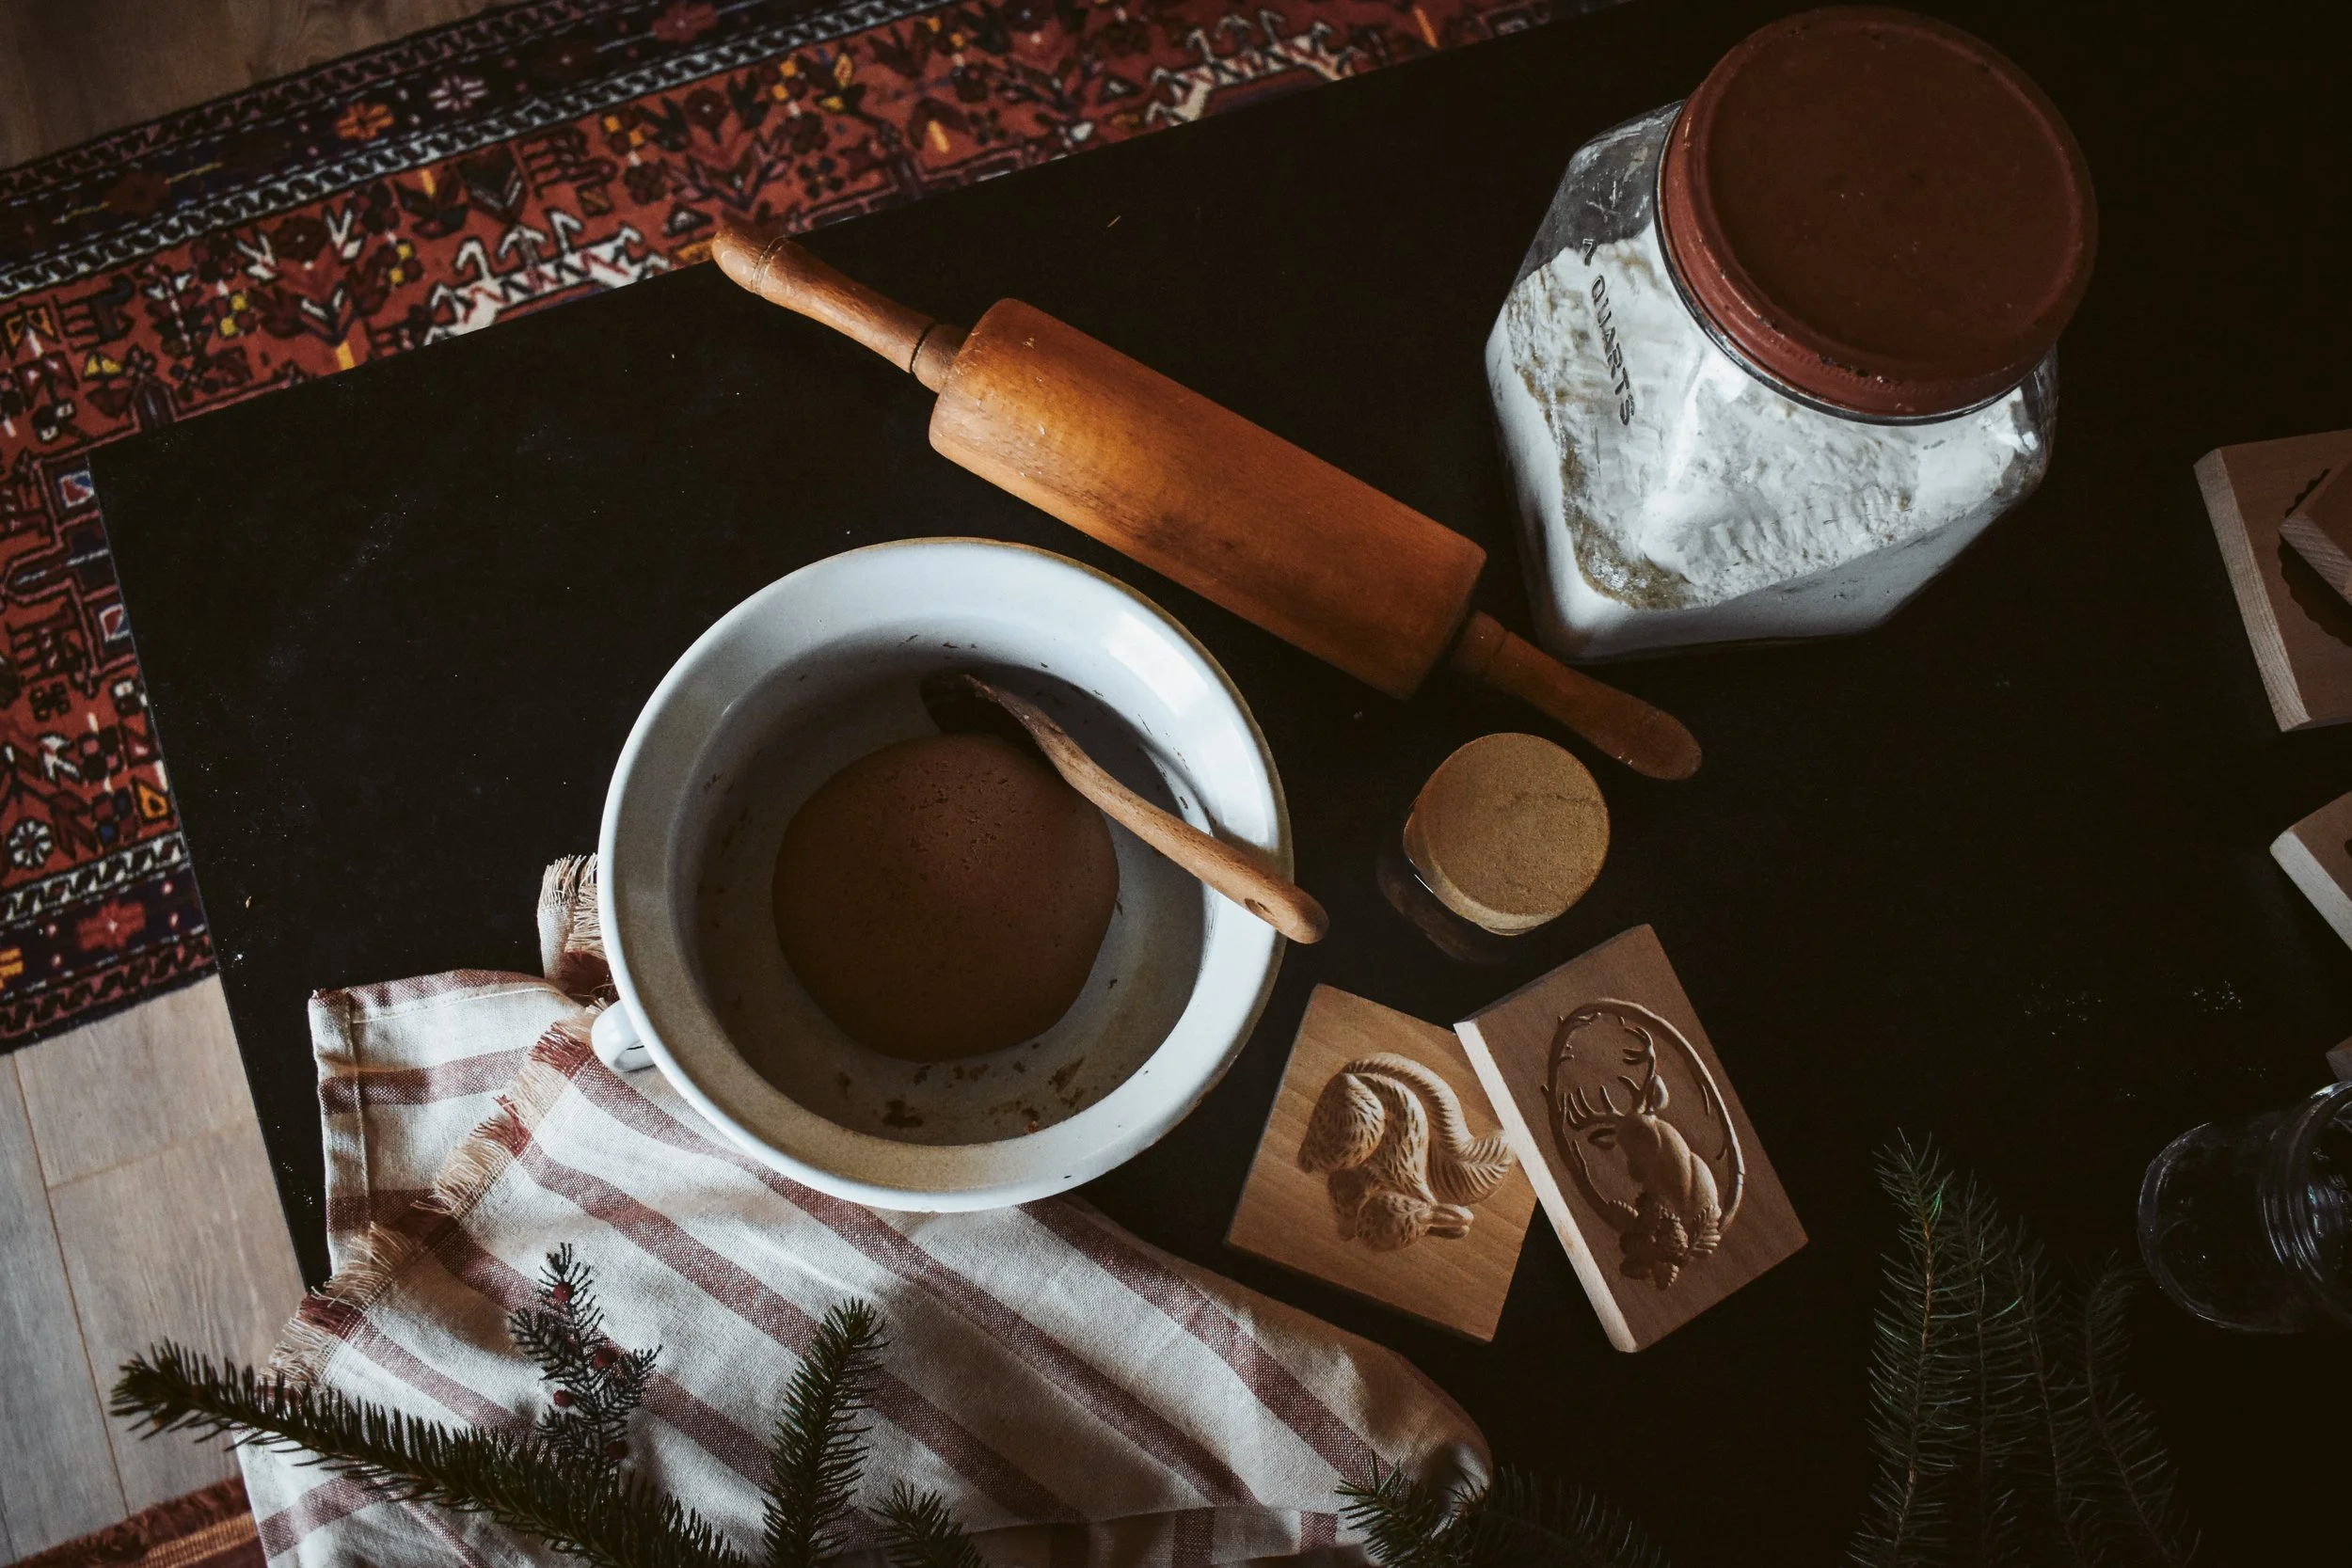
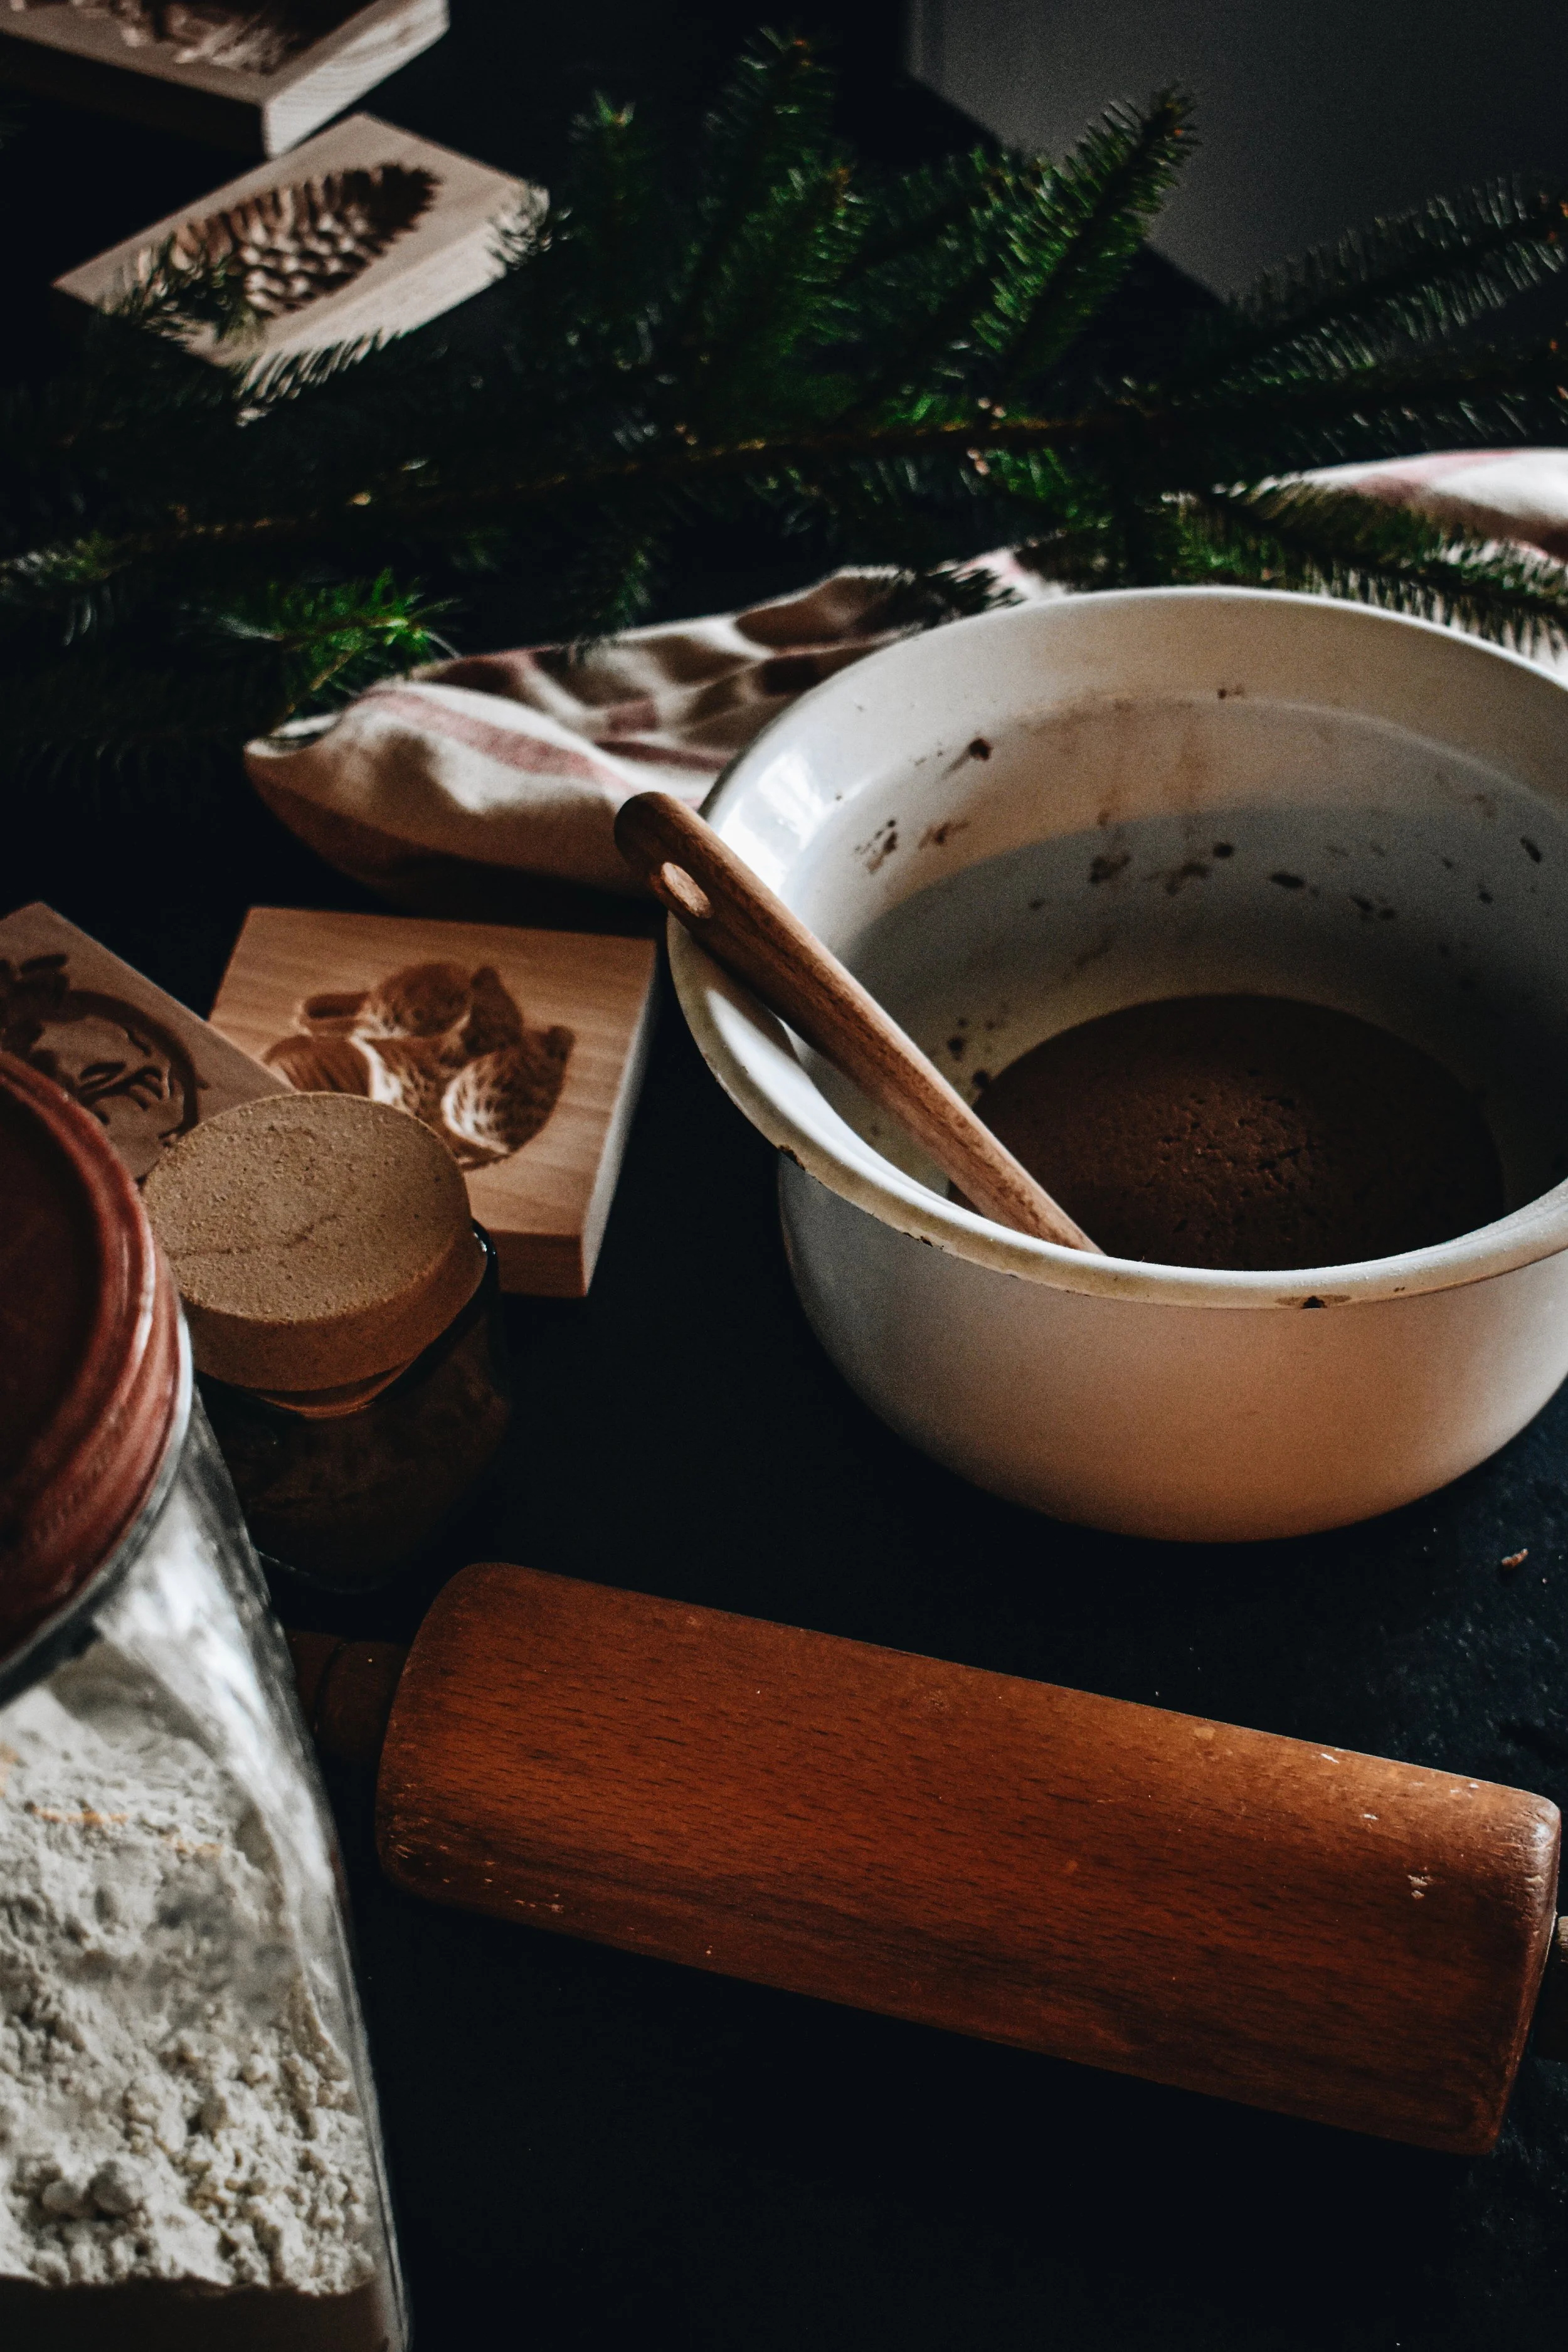
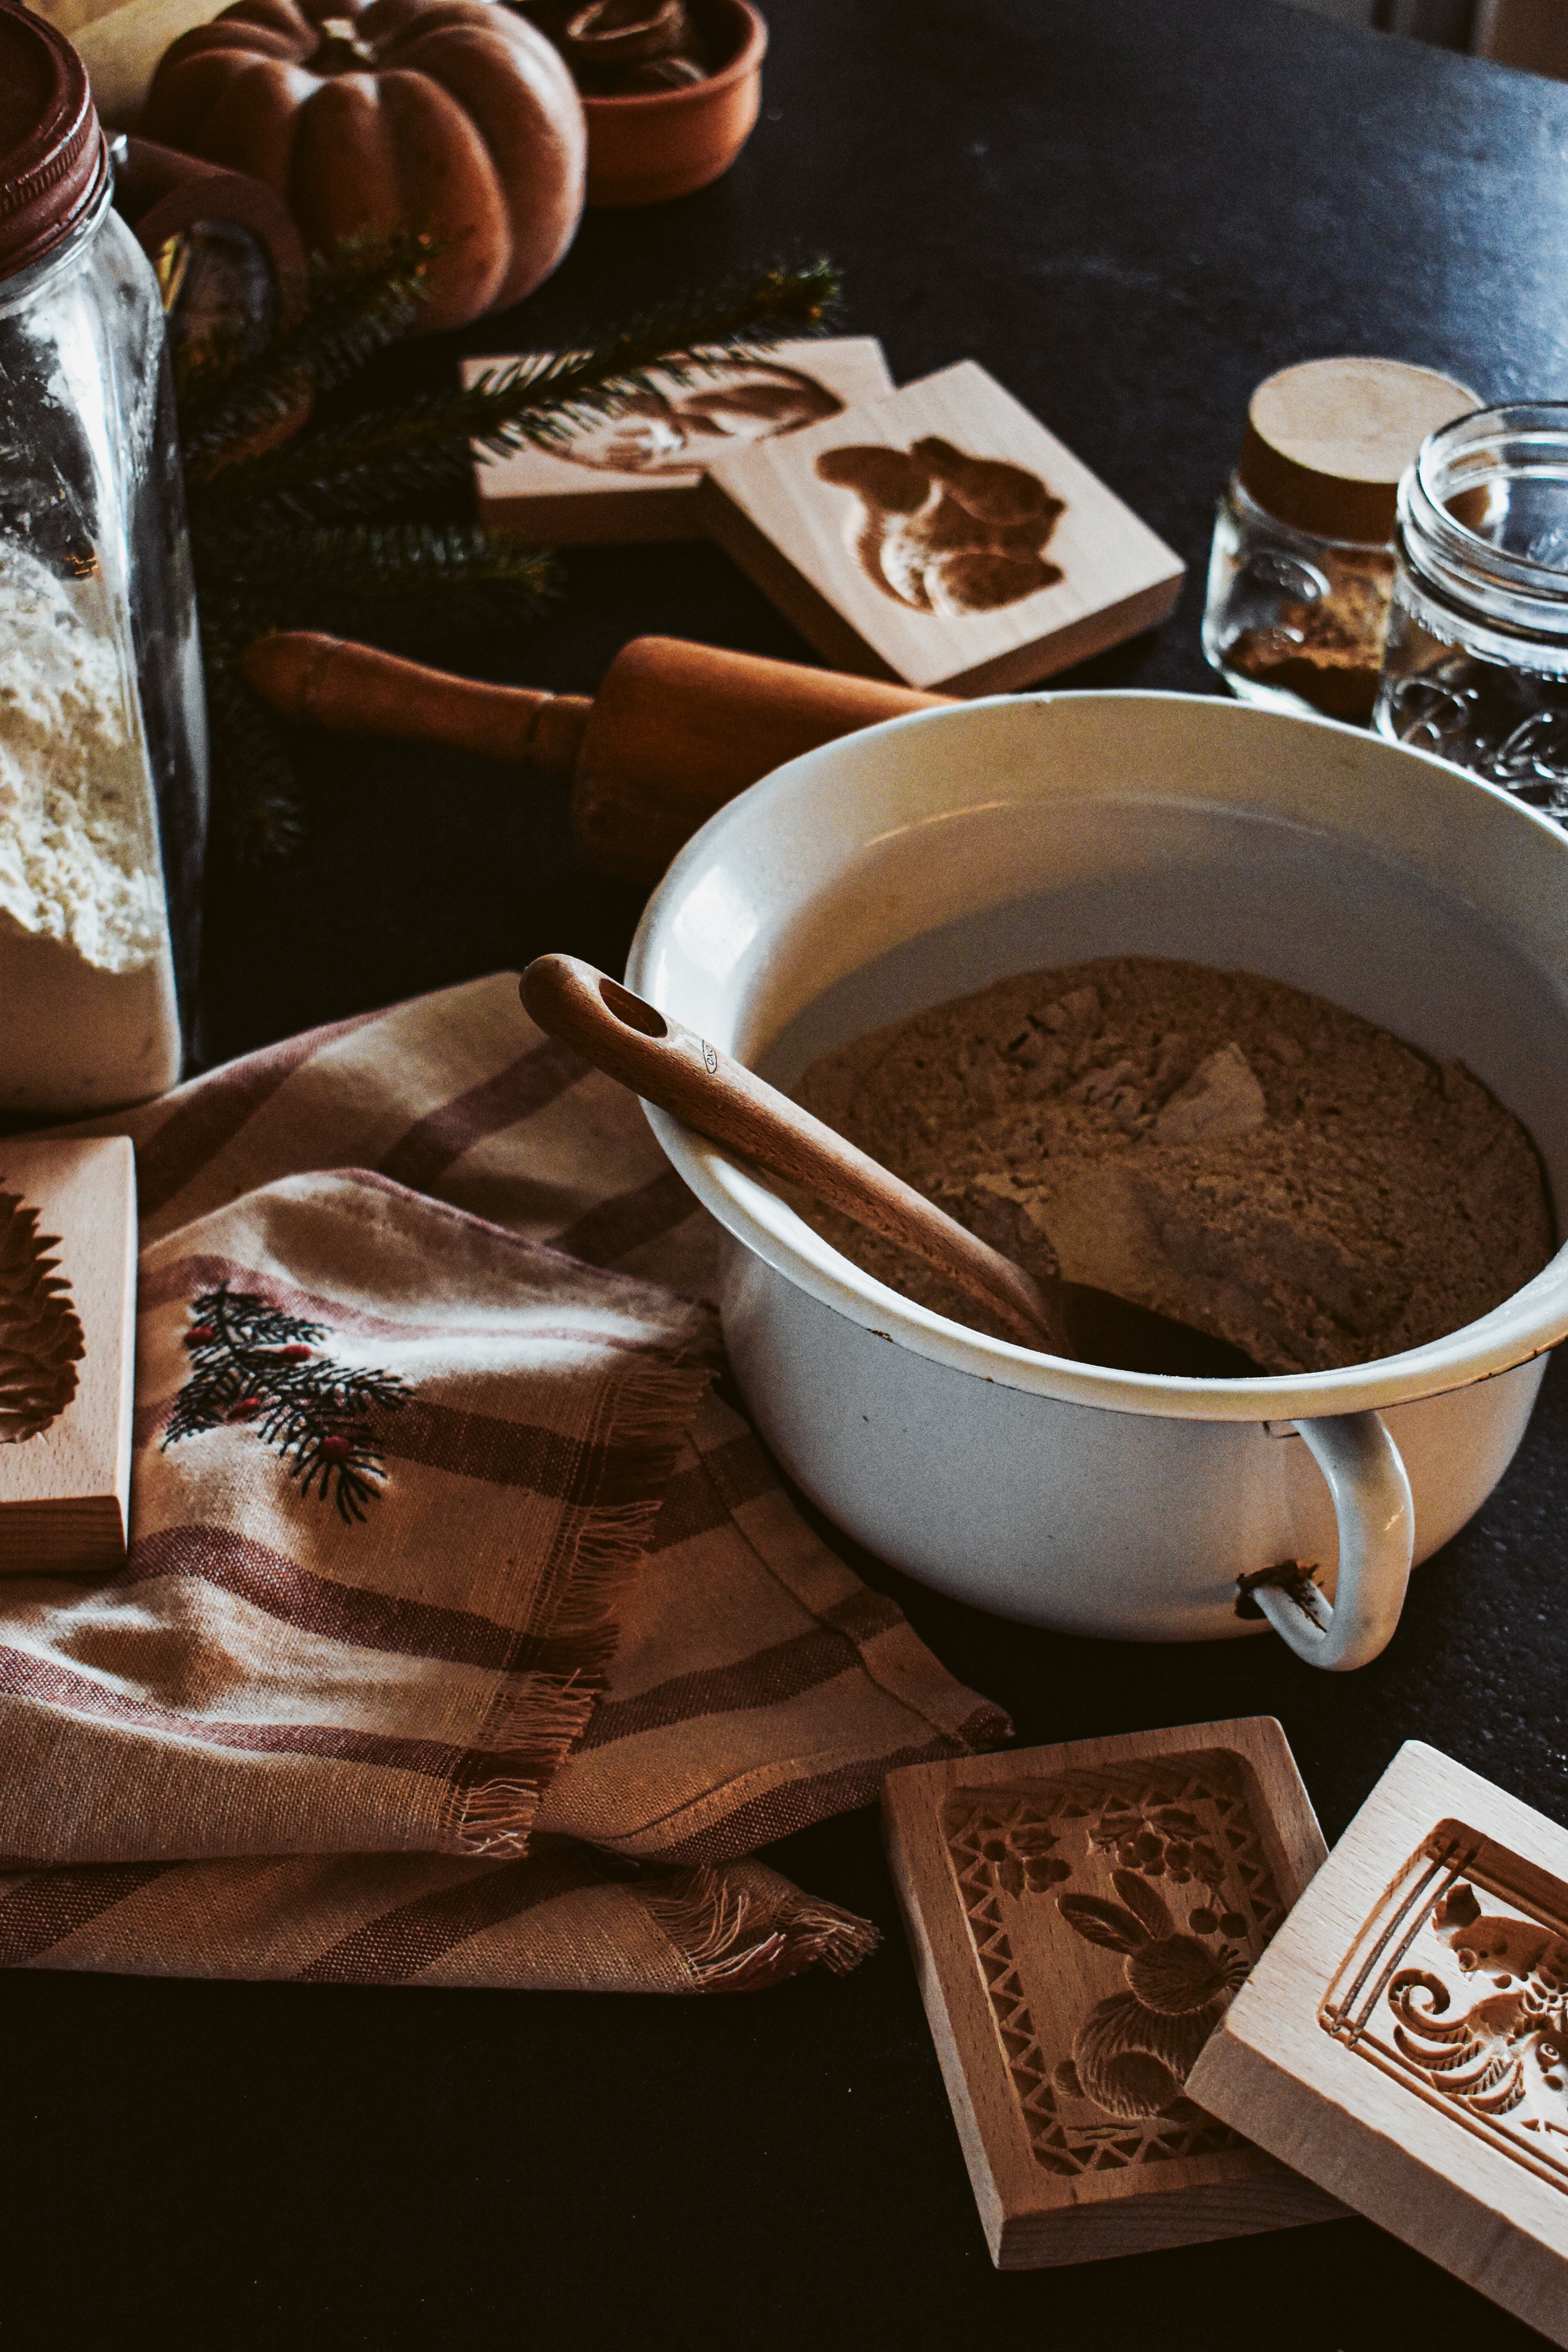
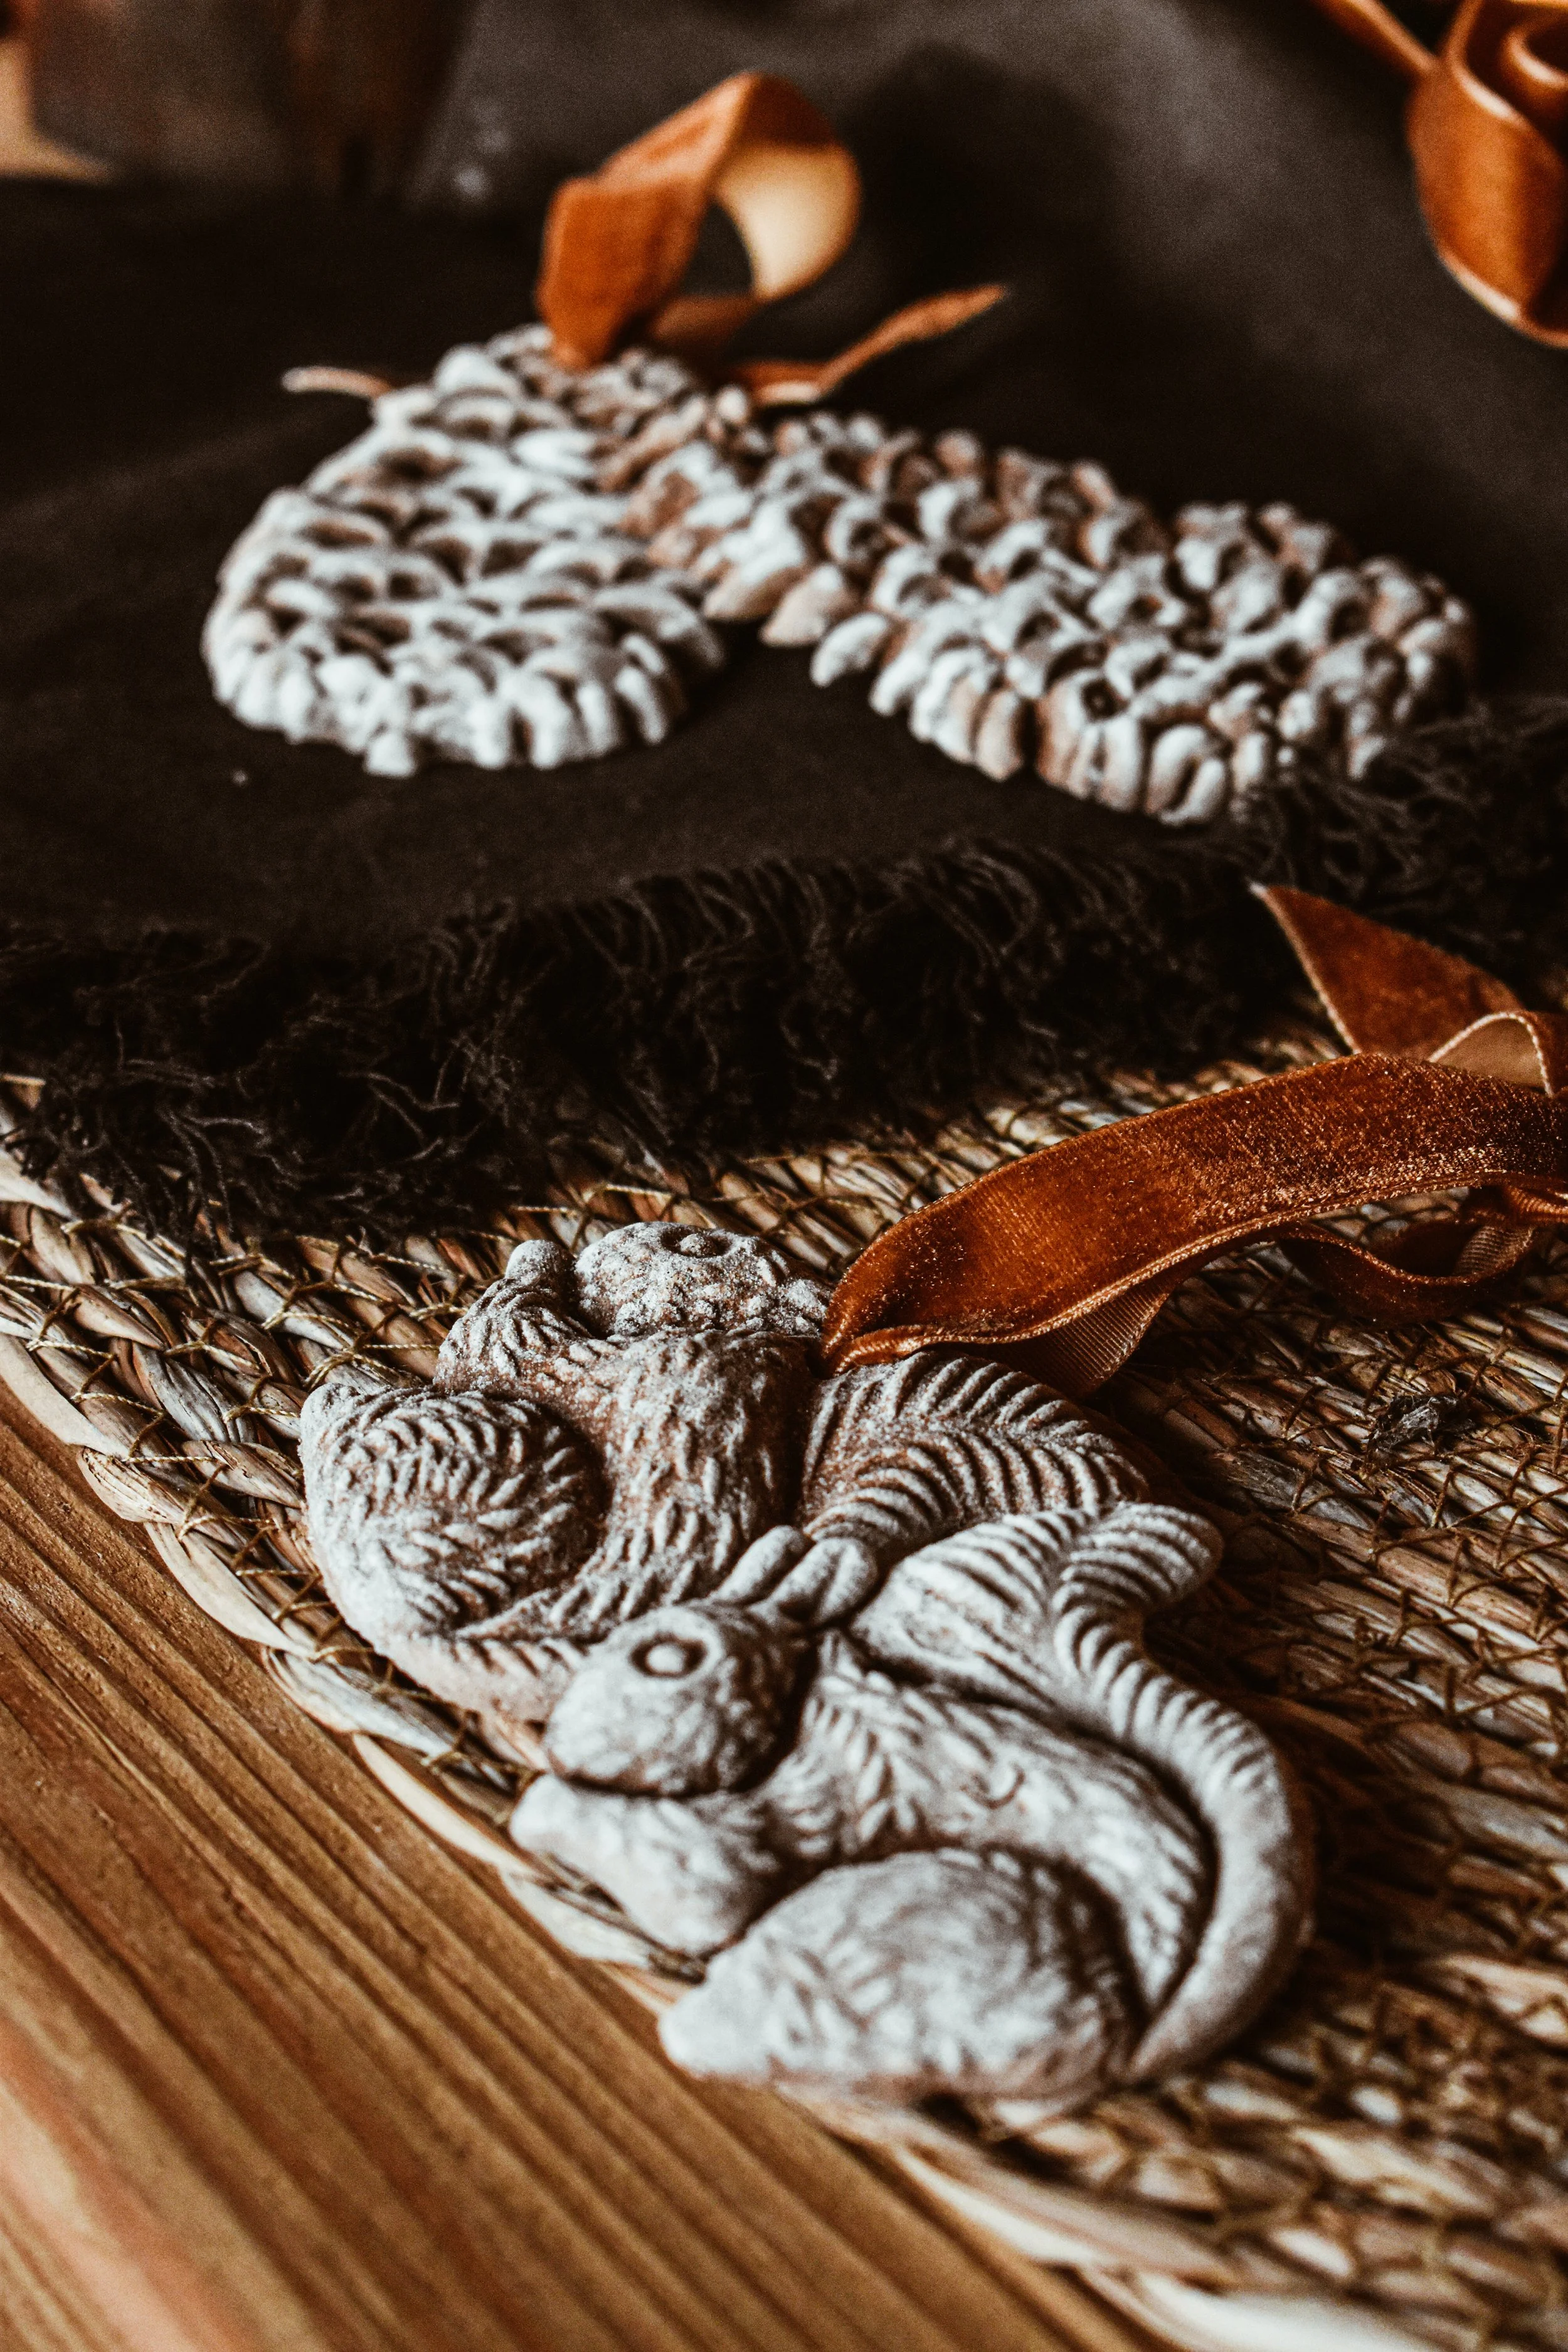
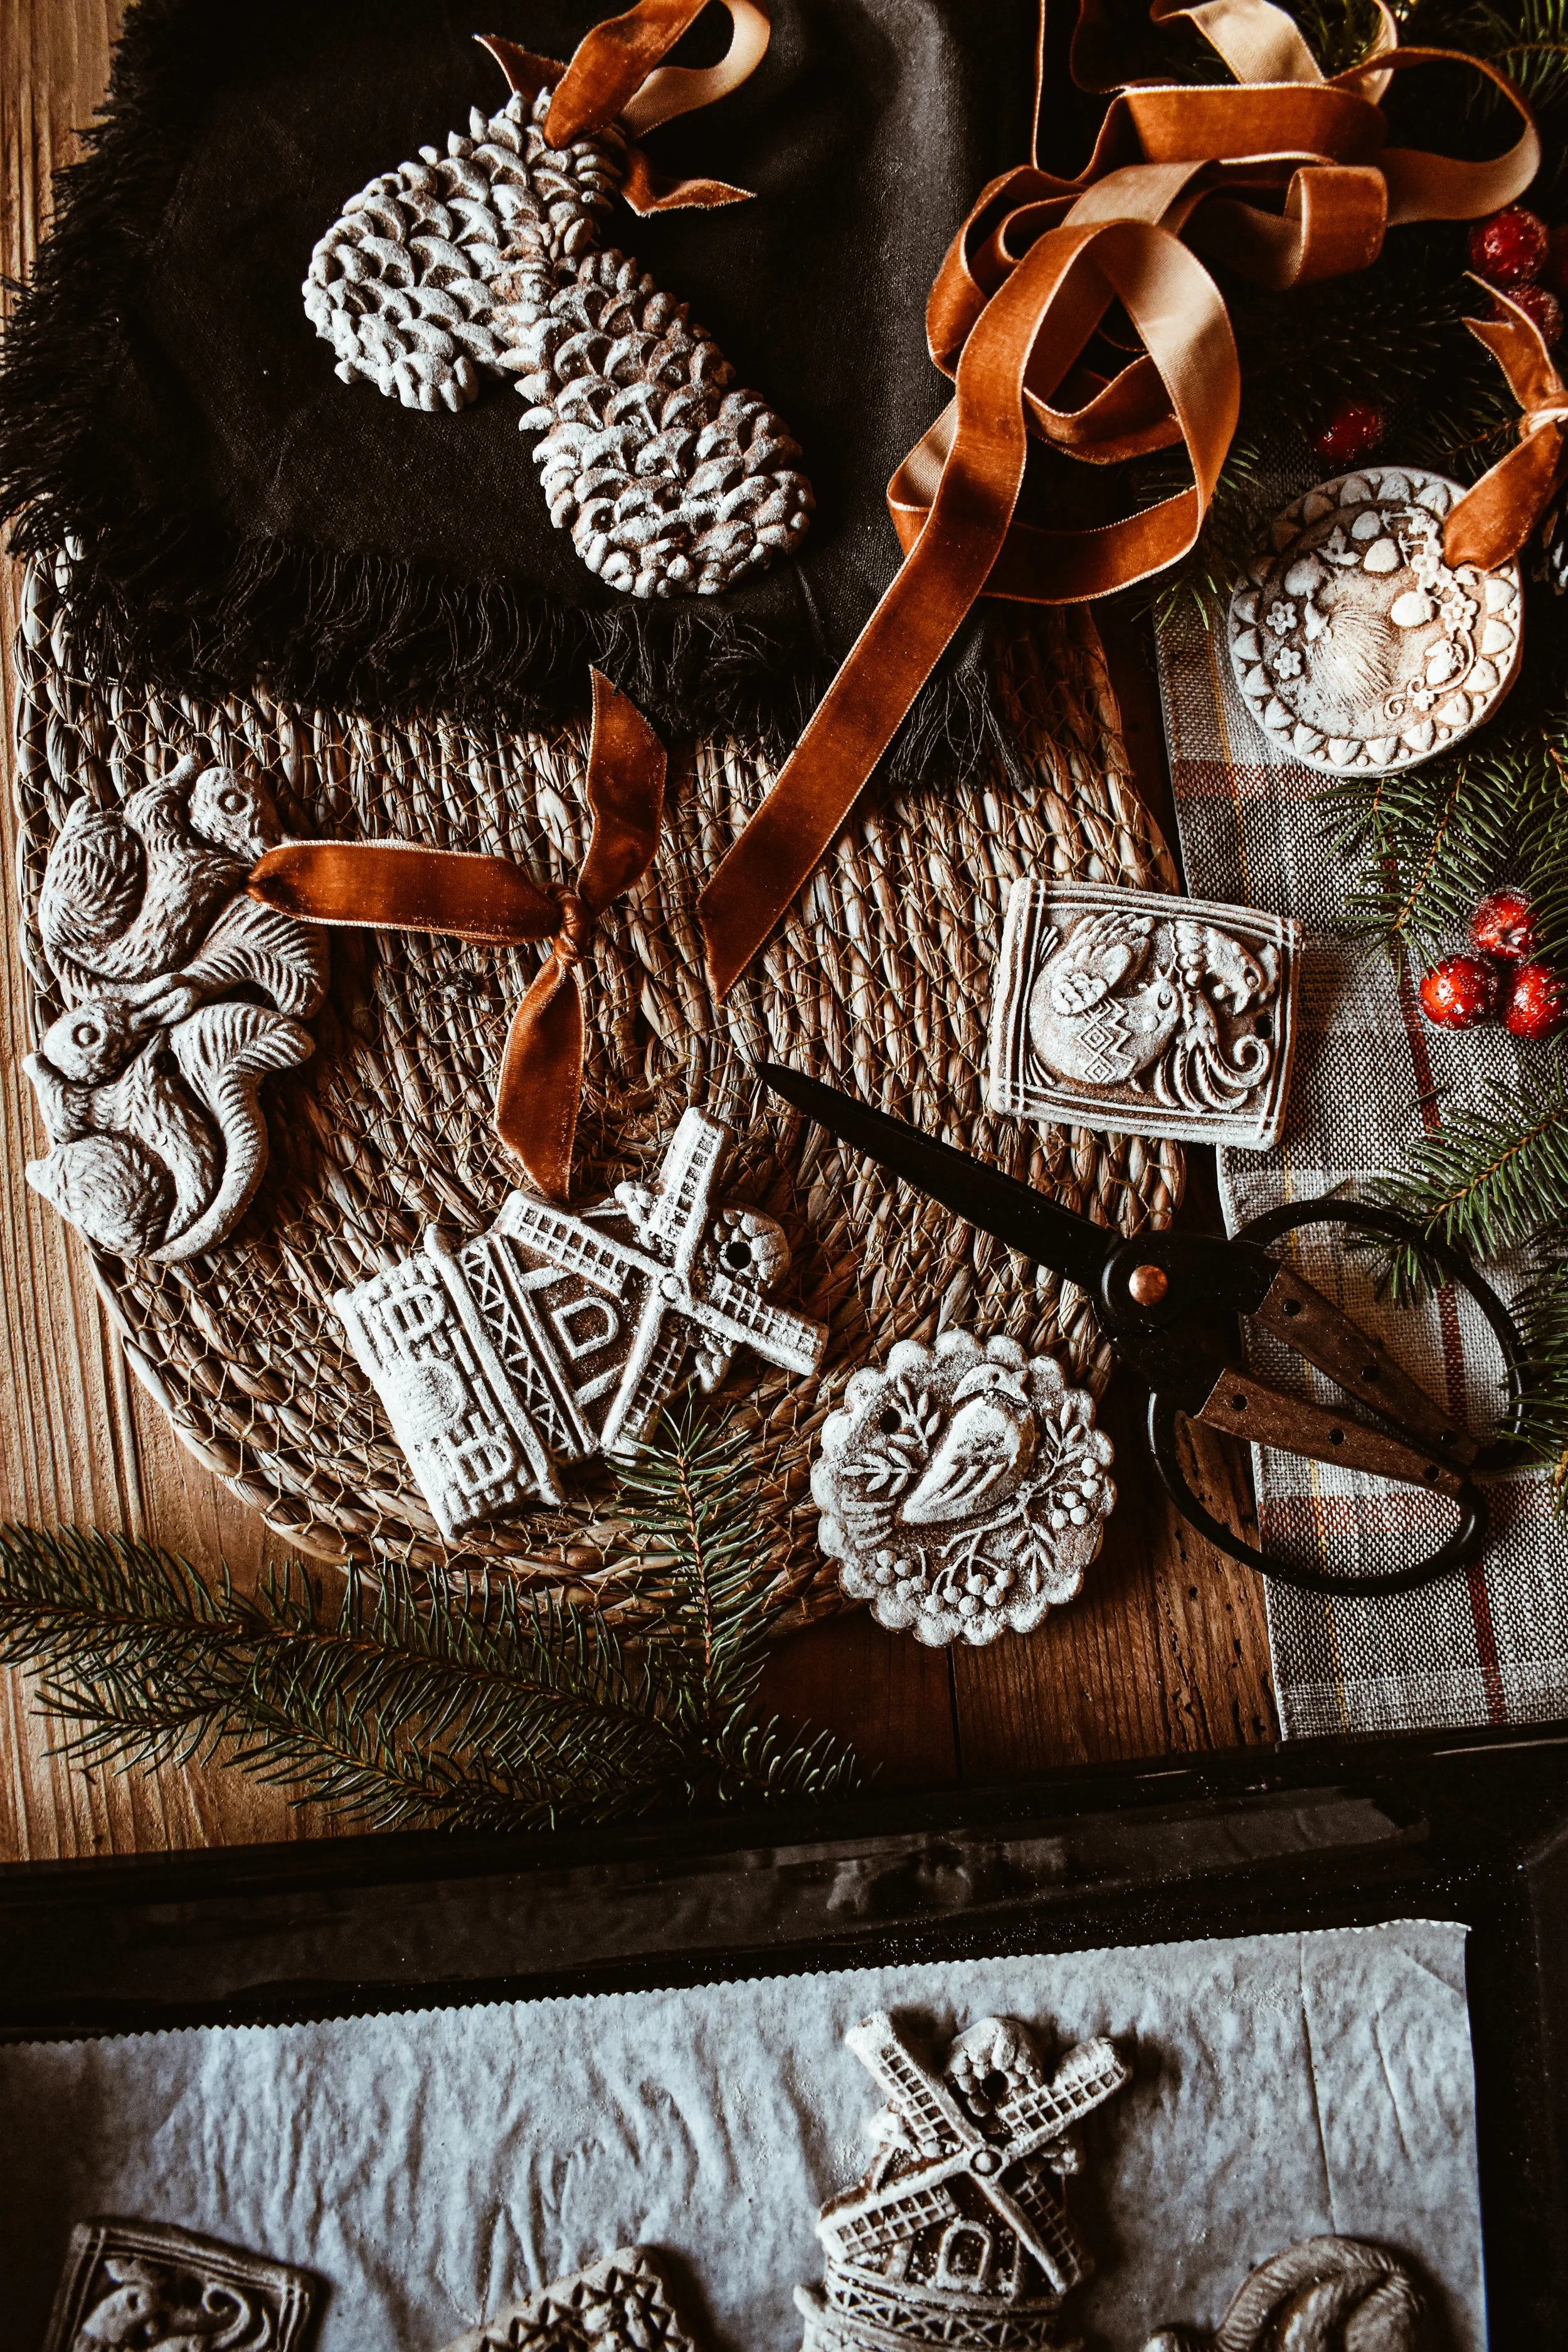
To slow things down a bit and ground myself in the moment, our kitchen counter was soon filled with the scent of cinnamon and cocoa salt dough ornaments, pressed gently into wooden molds. They smell warm and familiar, like kitchens you’ve loved your whole life, even if you can’t quite place which one. Cinnamon, cocoa powder, flour, salt, water and patience. Nothing flashy. Just two hands and a little bit of spare time.
These ornaments have a long, humble history in Central Europe, especially in Germany, Austria, and parts of Switzerland. Long before Christmas trees glittered with glass bulbs, families decorated with what they had: dough, dried apples or oranges, nuts, paper, tin and straw. In regions where elaborately carved wooden cookie molds were already part of daily life, it was only natural that they would find a second purpose.

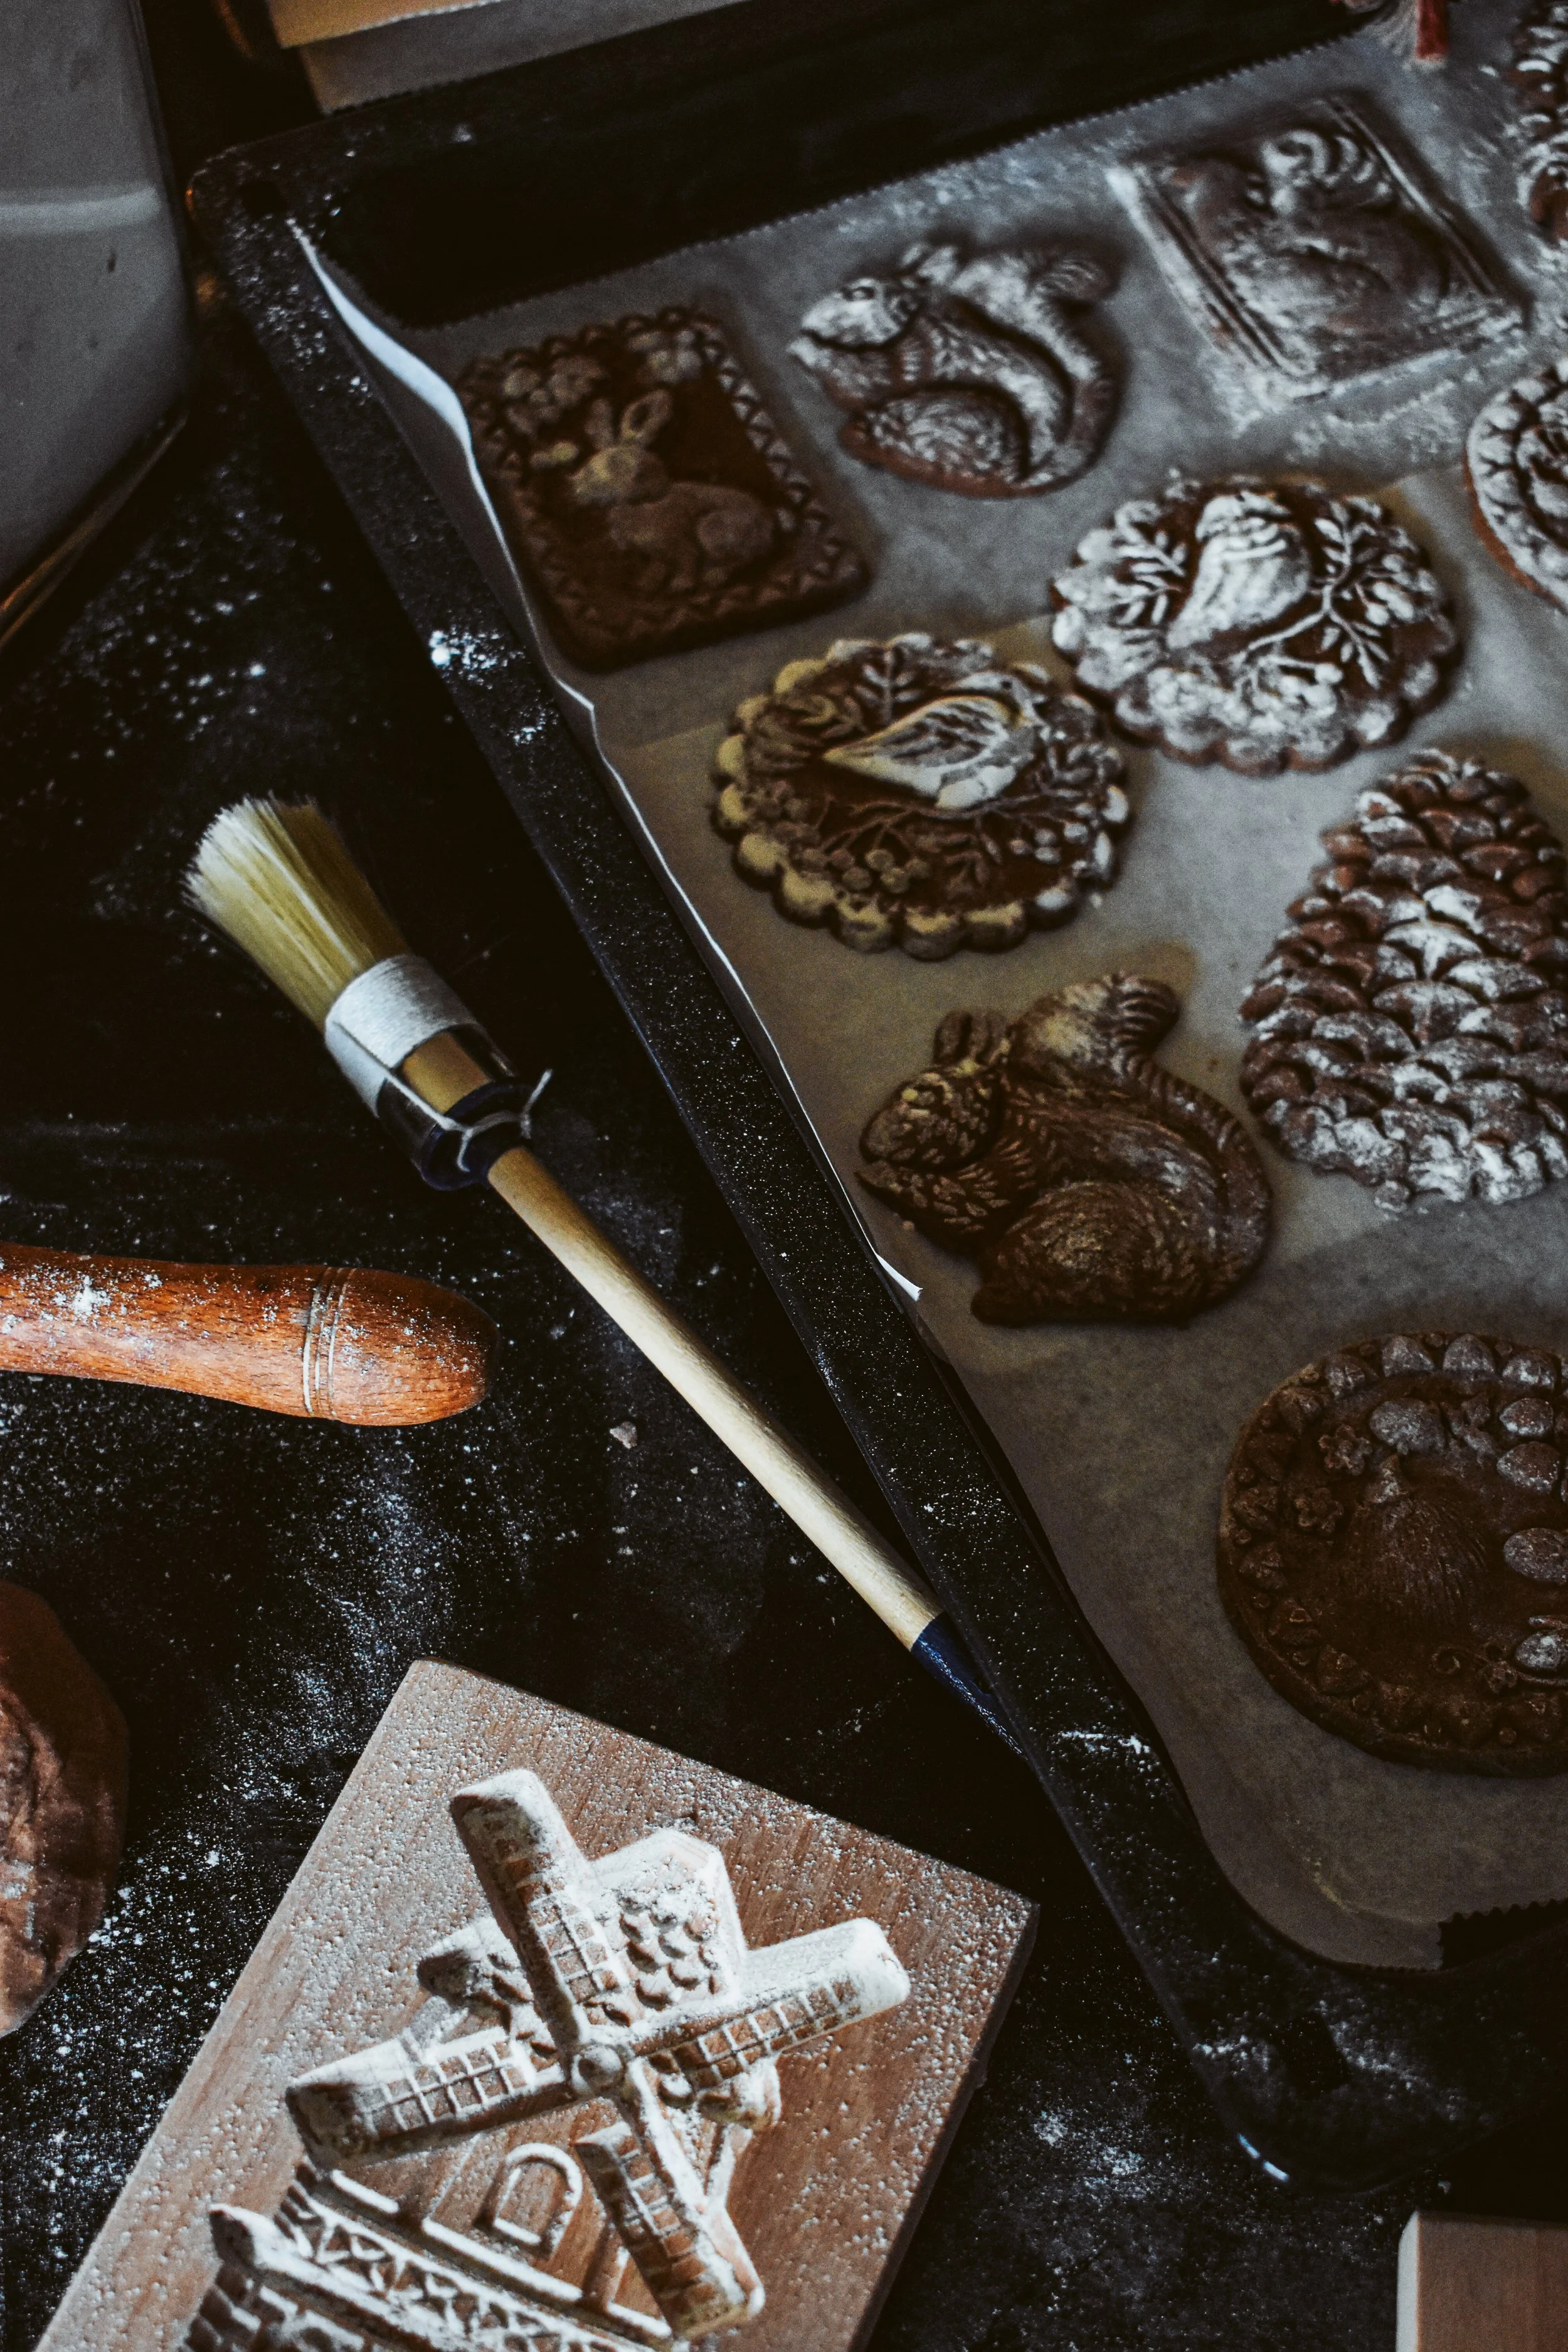
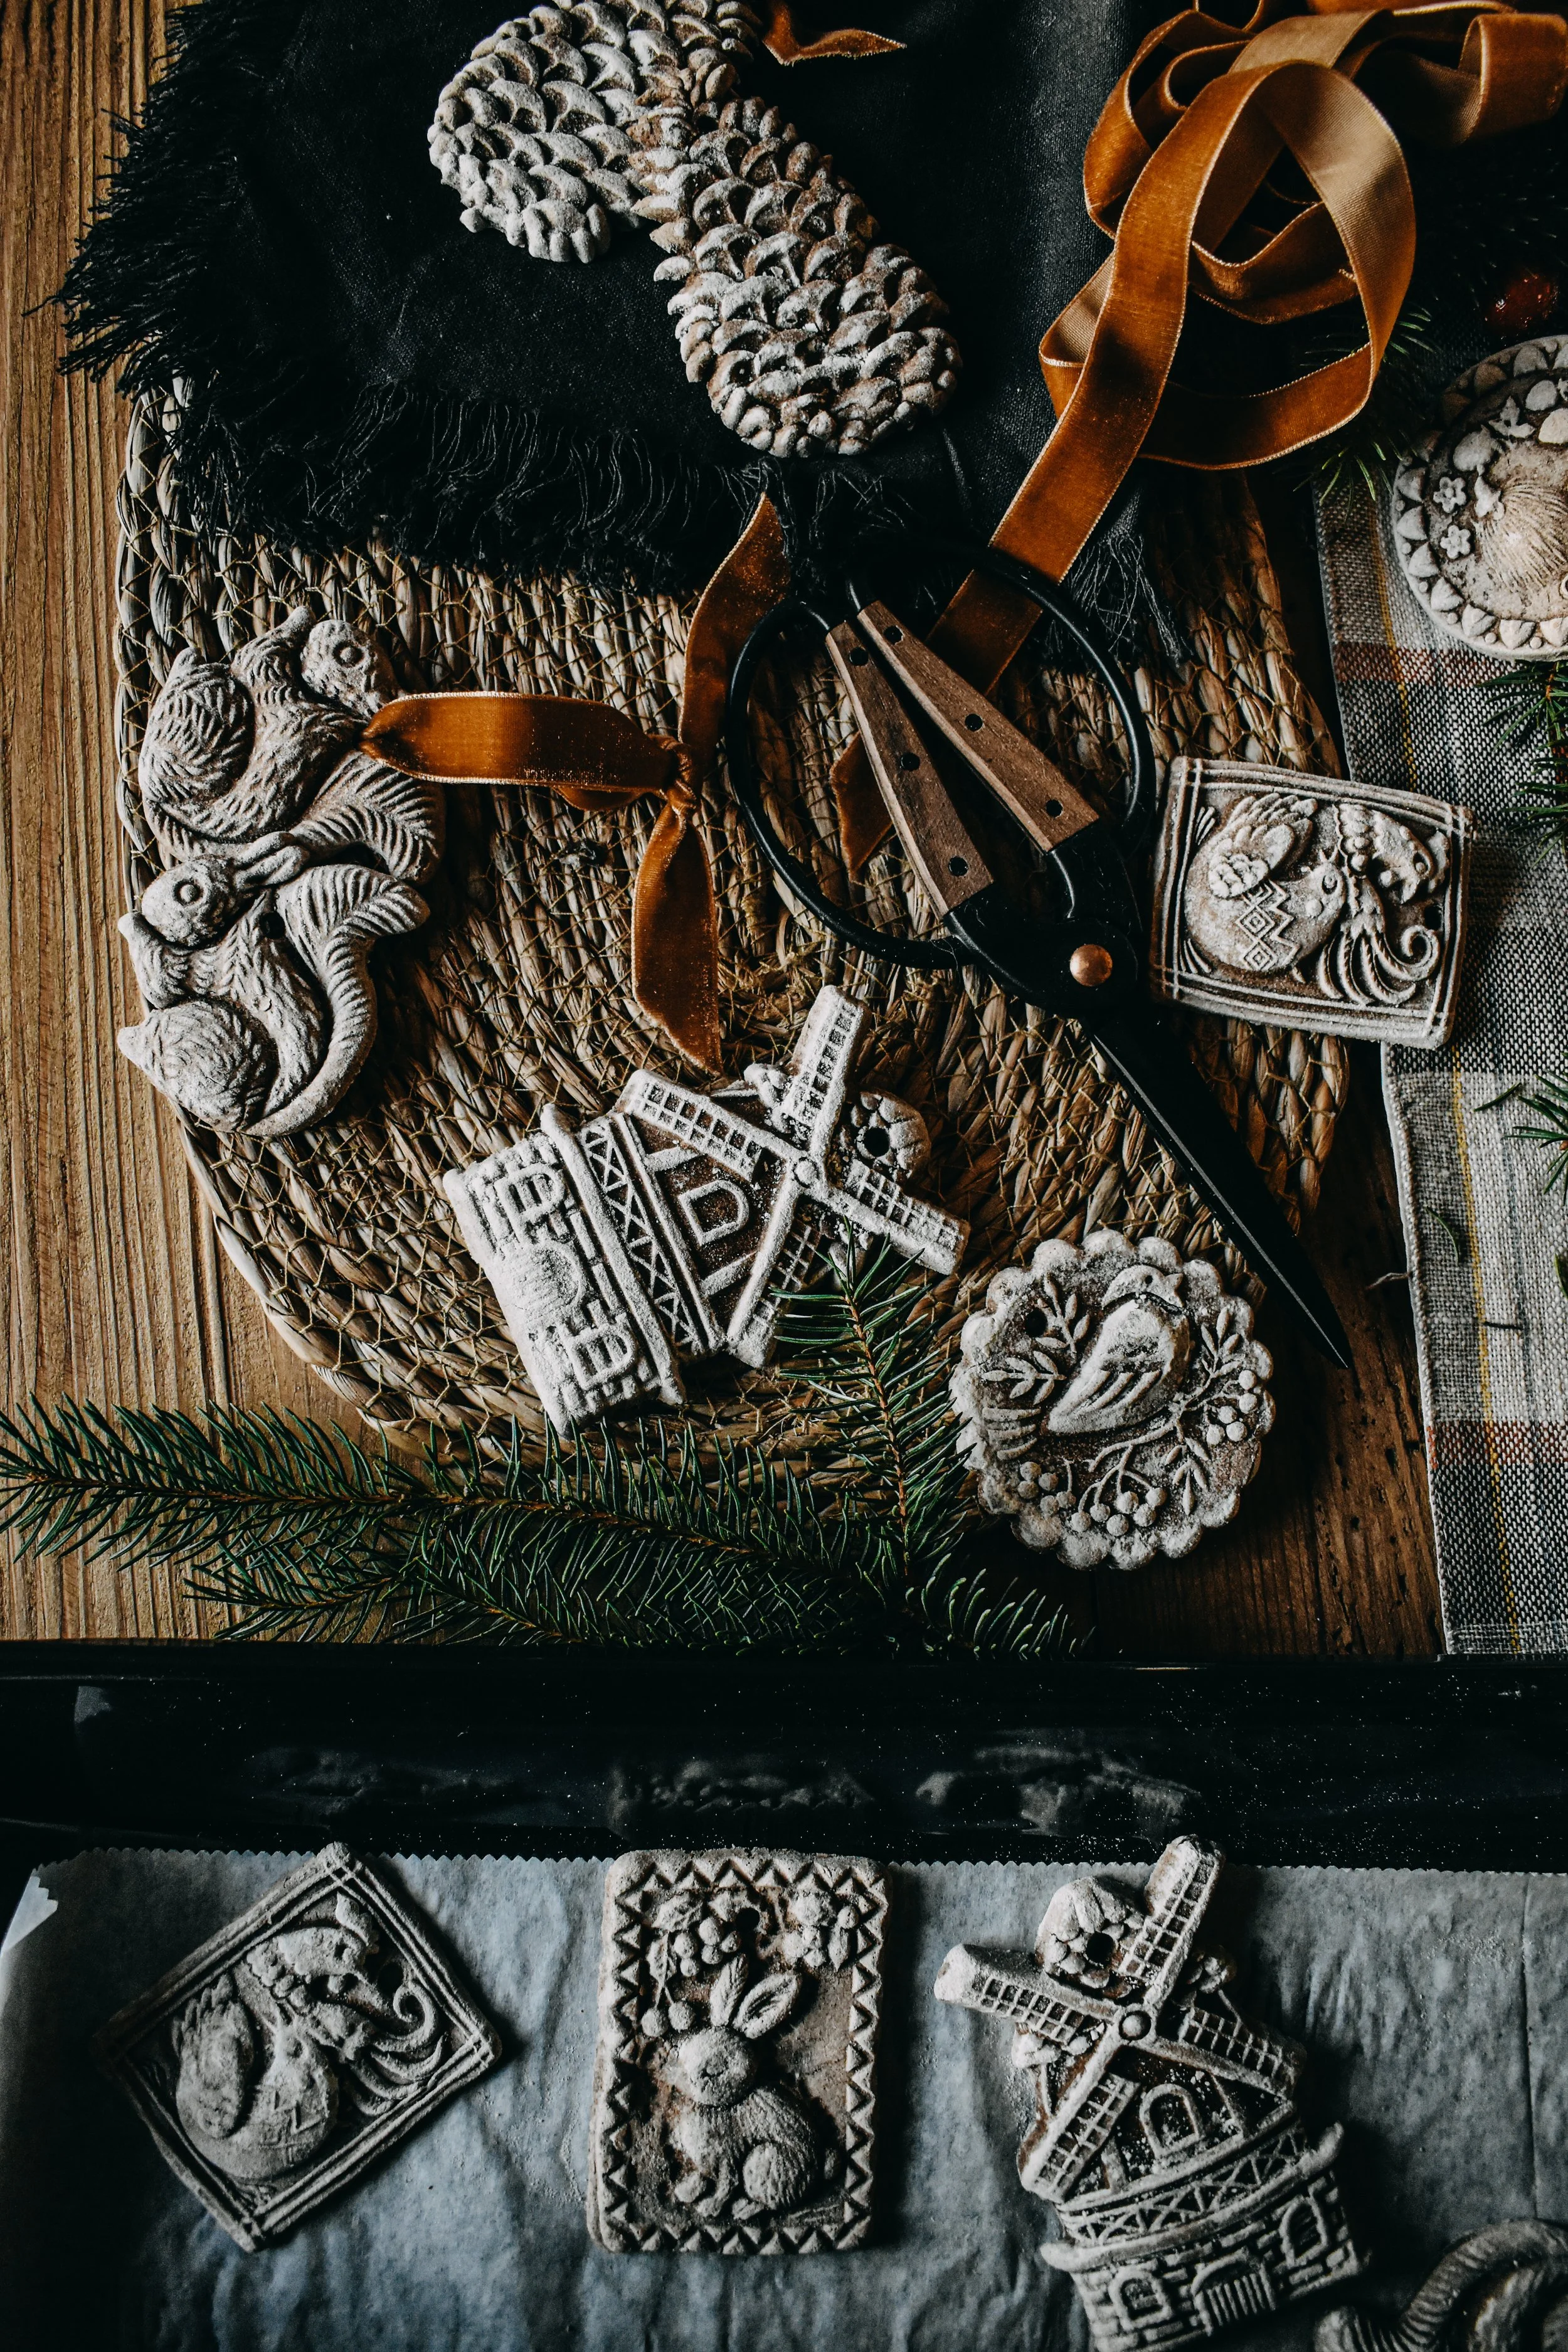
The same molds used for Springerle and other anise-scented cookies, carved with hearts, flowers, saints, farm animals, biblical scenes, and symbols of luck, were sometimes used to press decorative dough meant not for eating, but for hanging. These doughs were often heavily salted, sometimes spiced, designed to dry hard and last through the season. In poorer households especially, ornaments were never frivolous objects; they were practical, symbolic, and made to be reused year after year. It was often a family affair, part of the ritual of bringing in the holiday season. Just like how Americans used to string popcorn, another tradition that began in Europe and made it’s way to North American in the 1800’s.
Salt itself carried meaning. It preserved food. It protected. It represented abundance and stability, things no household ever took for granted. Cinnamon, once rare and expensive, became a small luxury of winter, tied closely to Christmas baking and celebration. Together, they turned simple dough into something almost ceremonial.
What I love most about these ornaments is that they sit right at the intersection of rustic beauty and necessity. They were born from scarcity, from creativity under constraint, from the quiet belief that even hard winters deserved something charming and whimsical.
My grandmother used to have a few old wooden, clay and aluminum molds (naturally… none of which I could find in time Christmas), plus, we also inherited some vintage Scottish thistle biscuit molds from my husband’s side of the family, but again… still packed away from the move. So we got creative, and by creative, I mean that I logged on to the internet and bought some with a mere swipe of the credit card. Some new, some thrifted, all adorable.
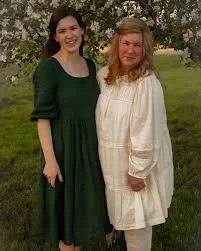
I was inspired to make these ornaments after years of watching the thoughtful work of Kayla Lovermeier, the voice behind Under a Tin Roof. What she creates through her writing, videos, and books, has always felt like an invitation to slow down and live with a little bit intention, to make things not because they are perfect, but because they matter.
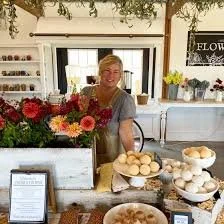
She began Under a Tin Roof in along with her mother, Jill, on their Iowa farm. It’s quickly grown into something rooted in simple cottage charm, cooking and creating with influences from around the world, and living a more mindful and intentional lifestyle. What’s not to love?
Sadly, Kayla shared the heartbreaking news that her mother was recently diagnosed with stage 4 colon cancer. It is the kind of news that stops you cold… especially during a season meant for calmness, warmth, and comfort. It’s unimaginable how hard something like that hits a family. Even though Kayla doesn’t know me personally, I still sit here in this small corner of Christmas with my own family, keeping her and her family in mind.
If you feel so inclined, you can also help the family directly this Christmas by donating to their GoFundMe to help with Jill’s care.


That is, in many ways, what these ornaments have always been about.
They were never about excess. They were about marking time. About saying: we are here, we made it through another year, and we will make something beautiful anyway.
When I hang them on the tree, I think of generations of hands doing the same. Pressing dough into carved wooden molds at a kitchen table, letting ornaments dry near a crackling wood stove, tucking them away carefully to be used again next year. I think of how traditions survive not because they are grand, but because they are repeated, meaningful, and predictable, when the rest of the world in our everyday lives often is not.
The scent of cinnamon eventually fades, the dough hardens, and the trees come down. But the act of creating… of choosing care over convenience, or slowness over spectacle, lingers long after the holiday season is over.
So maybe that’s the real ornament here after all: a reminder that even in heavy years, we can still shape something gentle with our hands, hang it up, and let it say what our words sometimes can’t.
Merry Christmas & Frohe Weihnachten
Recipe
Perfect for 12 ornaments
Dry ingredients
2 cups flour
1 cup fine salt (table salt, kosher salt or canning/pickling salt all work great)
2 tablespoons cocoa powder (up to 3 if you want very dark)
2 tablespoons cinnamon (you’ll still smell it, I promise)
Wet ingredients
¾ cup warm water
1 tablespoon neutral oil (I used olive oil, but anything will work.)
Directions
Whisk dry ingredients thoroughly
Add water slowly to dry mix, stirring in between
Once shaggy, knead by hand for about 5–7 minutes
If dry or cracking, you can wet your hands and keep kneading
The dough should feel smooth, warm and pliable. Not sticky or dusty.
If it feels slightly softer than you think it should, that’s actually perfect. It firms up as it rests.
Let the dough rest 10 minutes, covered. This relaxes the flour and gives cleaner mold impressions.
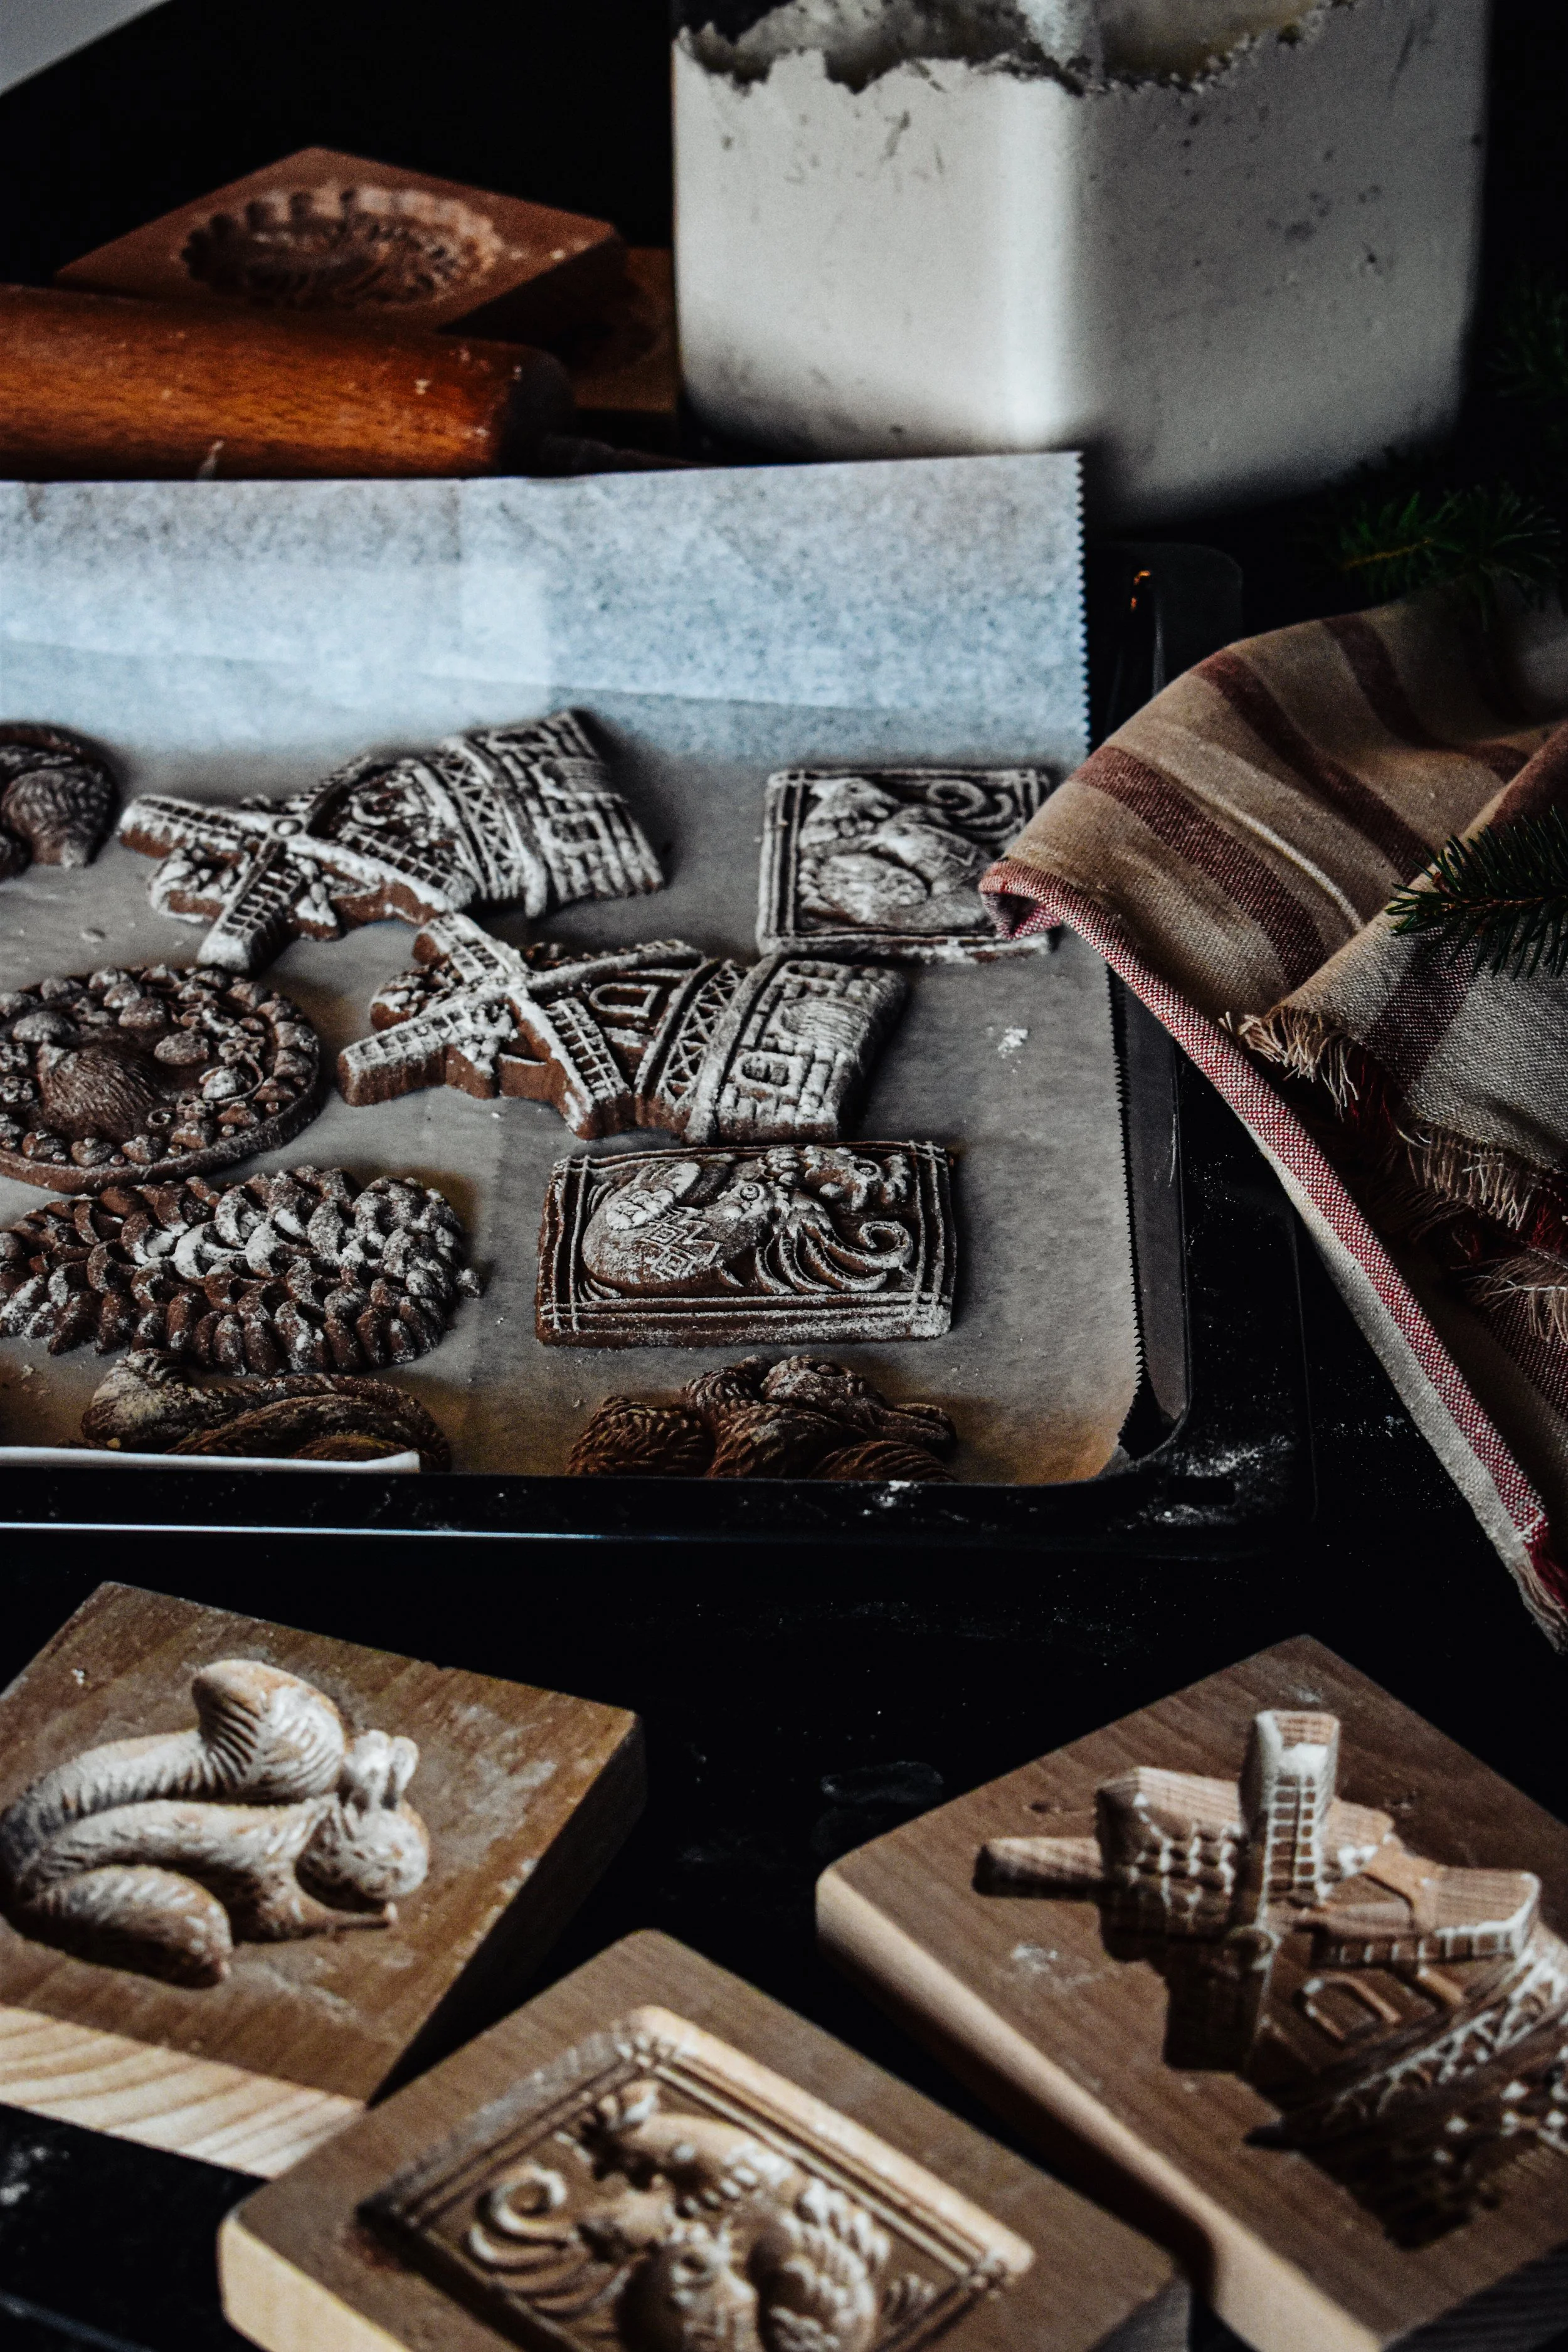
Using wooden cookie molds
Lightly dust mold with flour, cocoa powder or corn starch
Press dough in firmly, especially edges
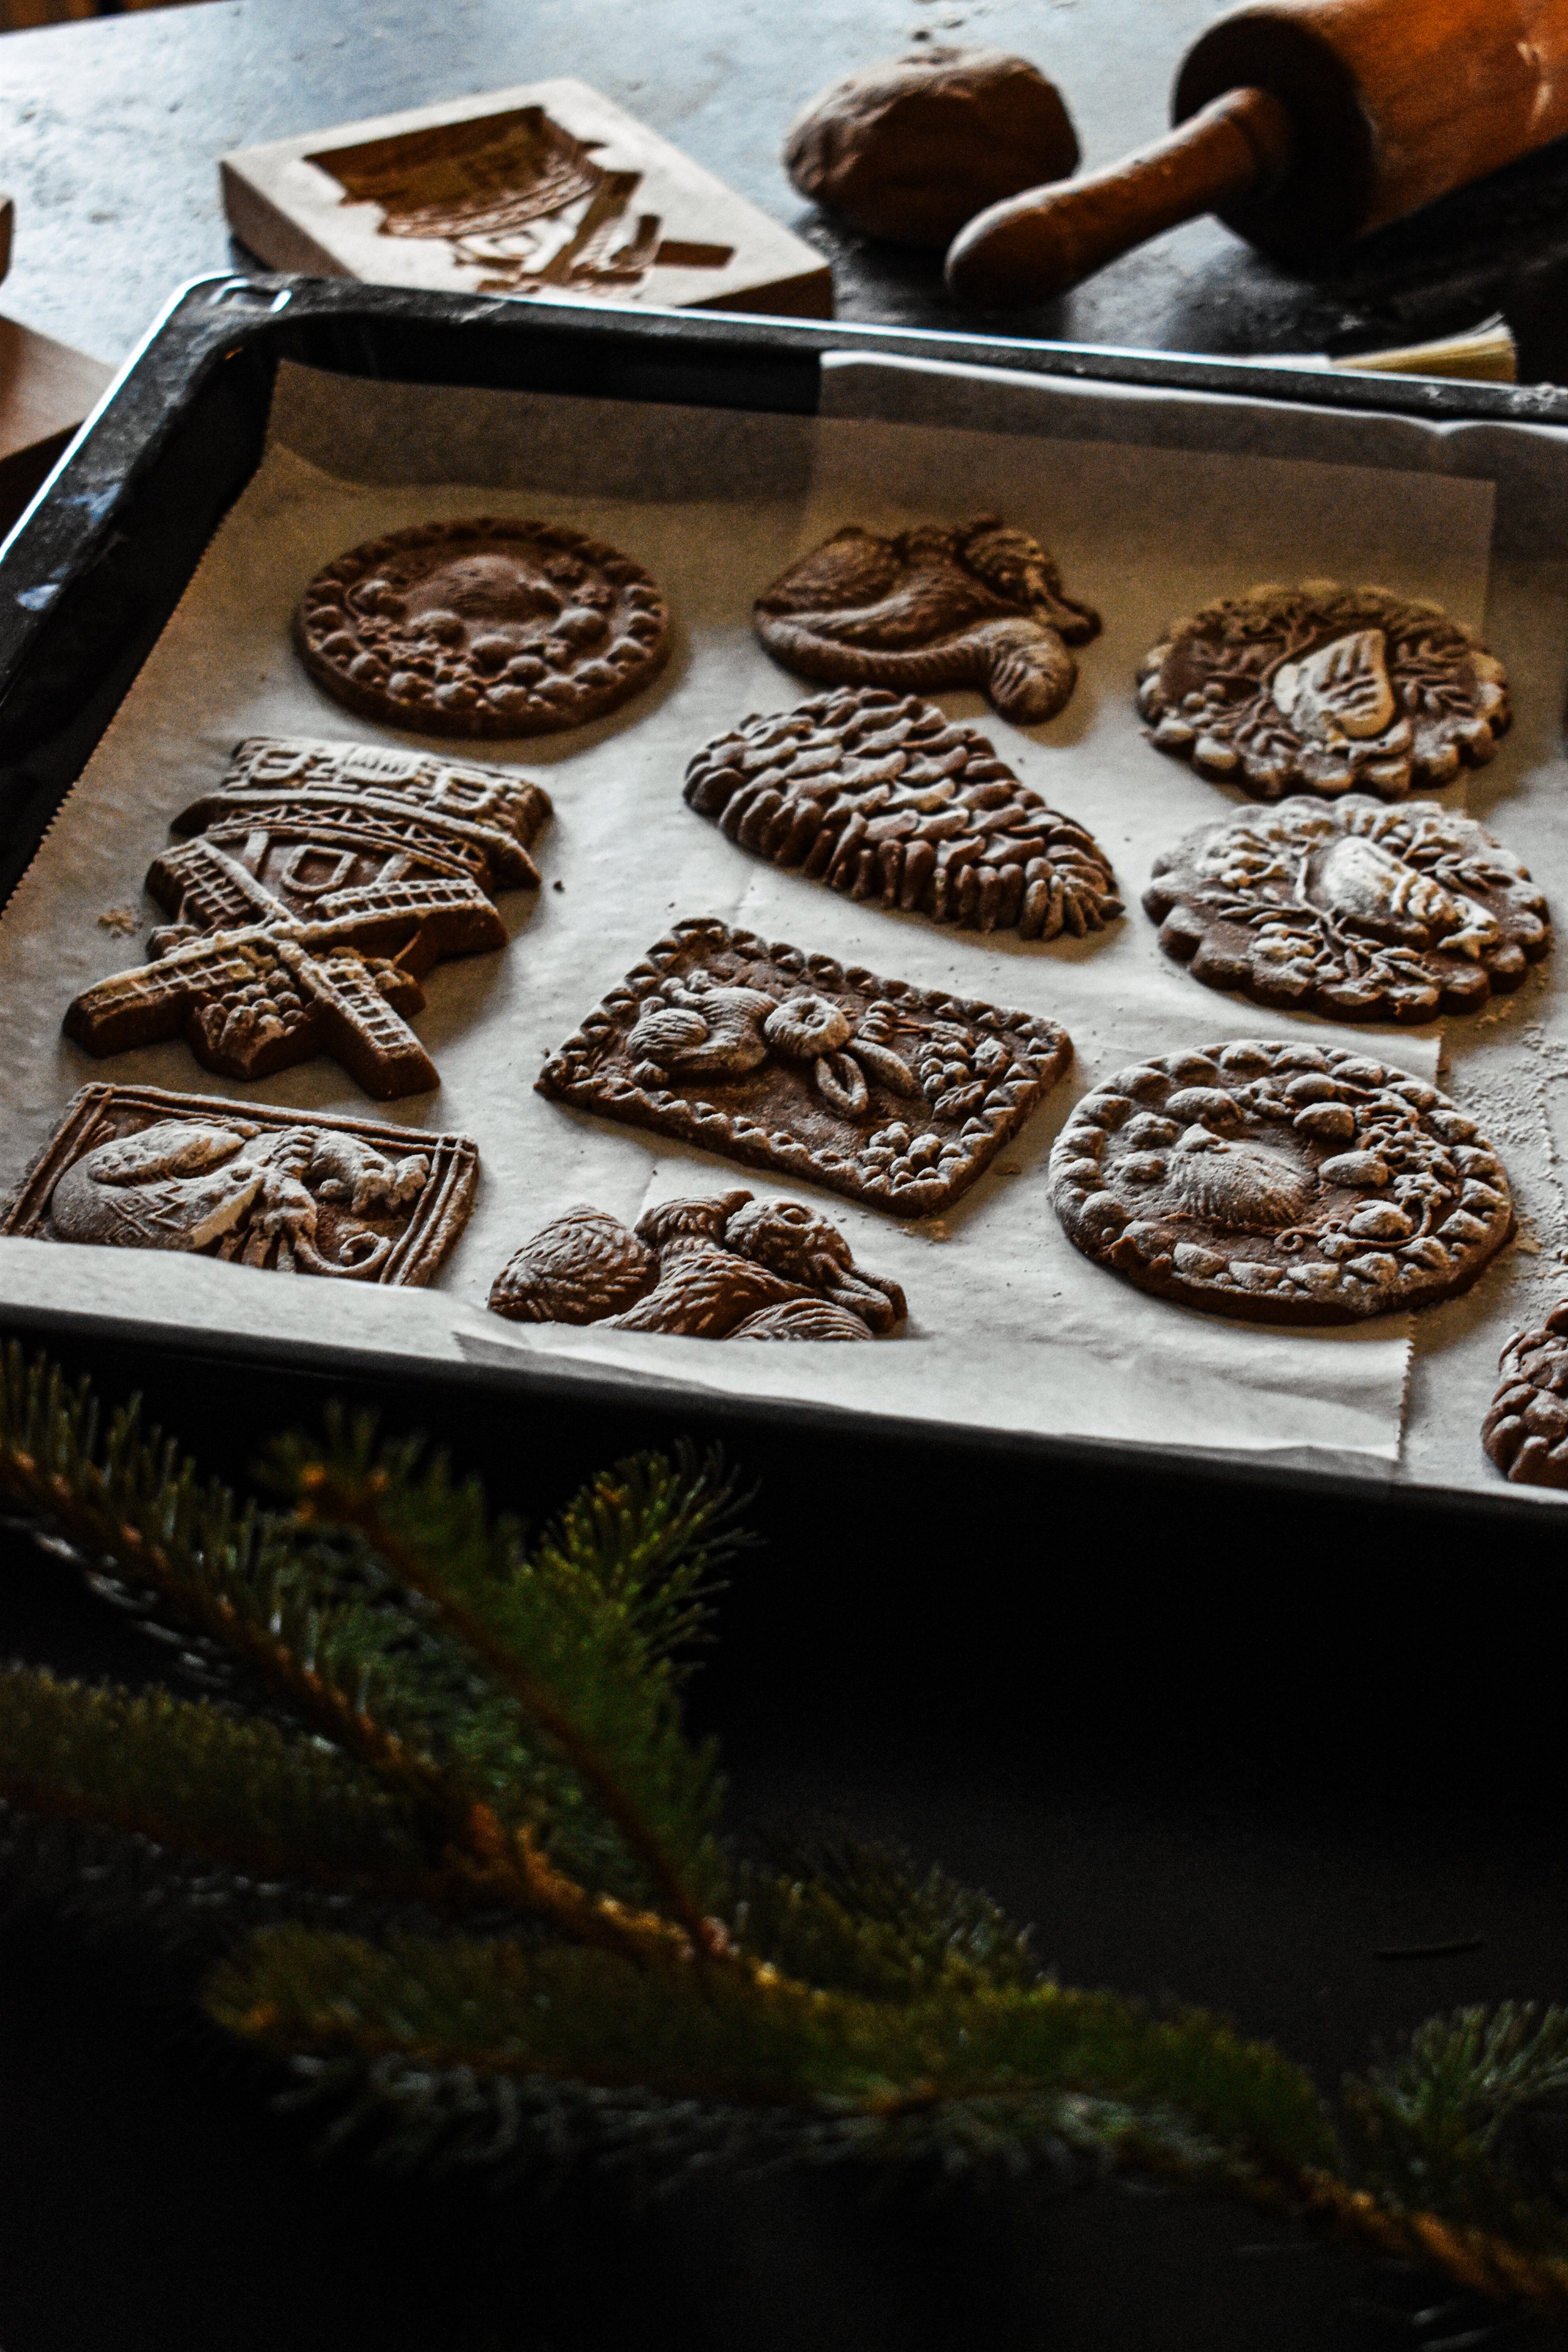
Use a flat edge or knife to cut off the excess to make the back flat
Tap mold In your hand or on the counter to release
Use a straw or skewer to make hanging holes before baking.
Baking
Bake at 95–110°C (200–230°F)
Bake for about 2 hours if they are about 1/4 inch thick. Closer to 3 hours for thicker ornaments.
Flip halfway through
Turn oven off, crack door, let ornaments cool inside
They should feel dry, firm, and stone-like once fully cooled.
Sealing with Mod Podge (Optional)
Wait 24 hours after baking.
Use Matte Mod Podge for old-world charm
2 thin coats, front and back
Let dry completely between coats
This will help prevent moisture absorption and deepen color slightly (in a good way)